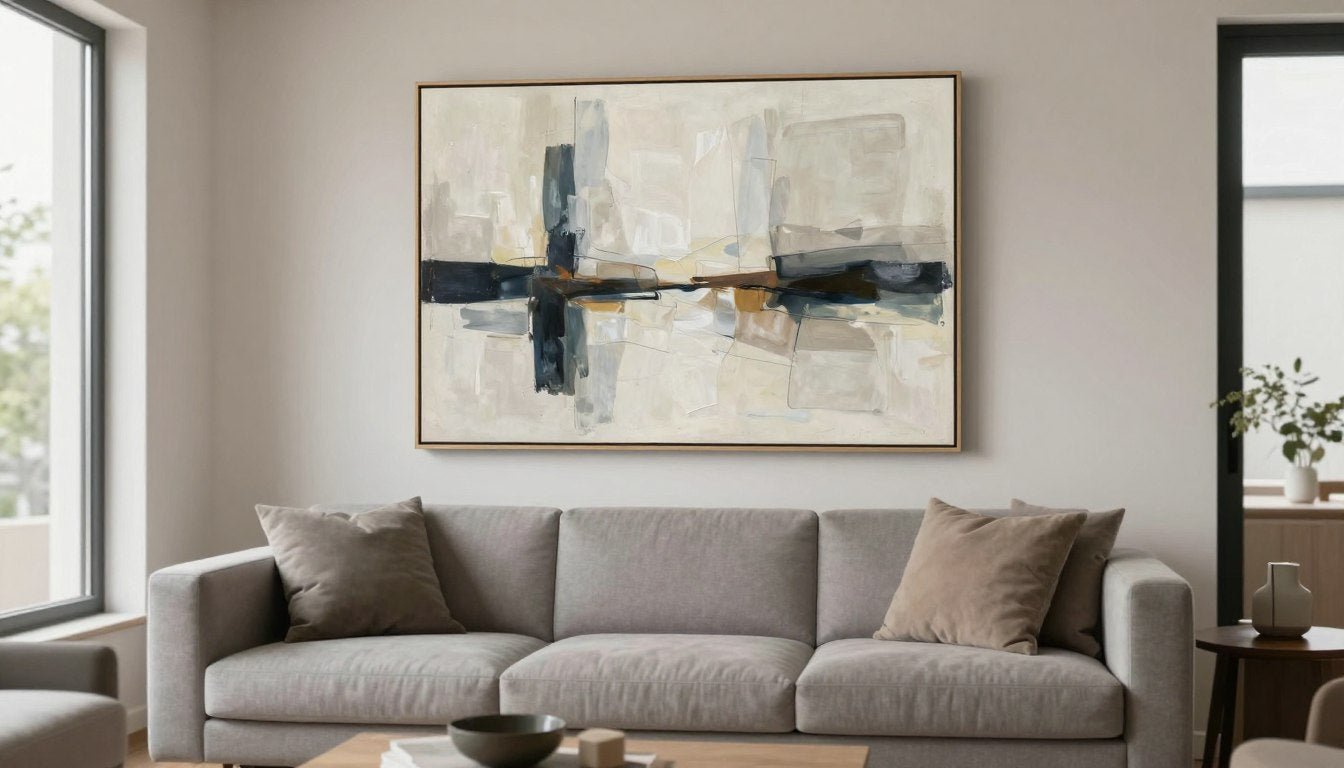
Hanging artwork transforms empty walls into personal galleries. Yet many people struggle with placement decisions. Should the piece hang higher or lower? How far apart should multiple frames sit? These questions stop homeowners from displaying art they love.
This guide removes the guesswork. You will learn professional techniques for hanging art at the right height. You will discover spacing rules that create balanced arrangements. Most importantly, you will gain confidence to hang artwork without damaging walls or making costly mistakes.

If You Love Contemporary Art, Here Are 3 Prints That Bring That Mood Into a Room
Before we dive into hanging techniques, explore these curated pieces that demonstrate perfect scale and style for modern spaces.

Abstract Canvas Prints
Bold geometric designs that create instant focal points. Perfect for living rooms and offices where you want to make a statement.

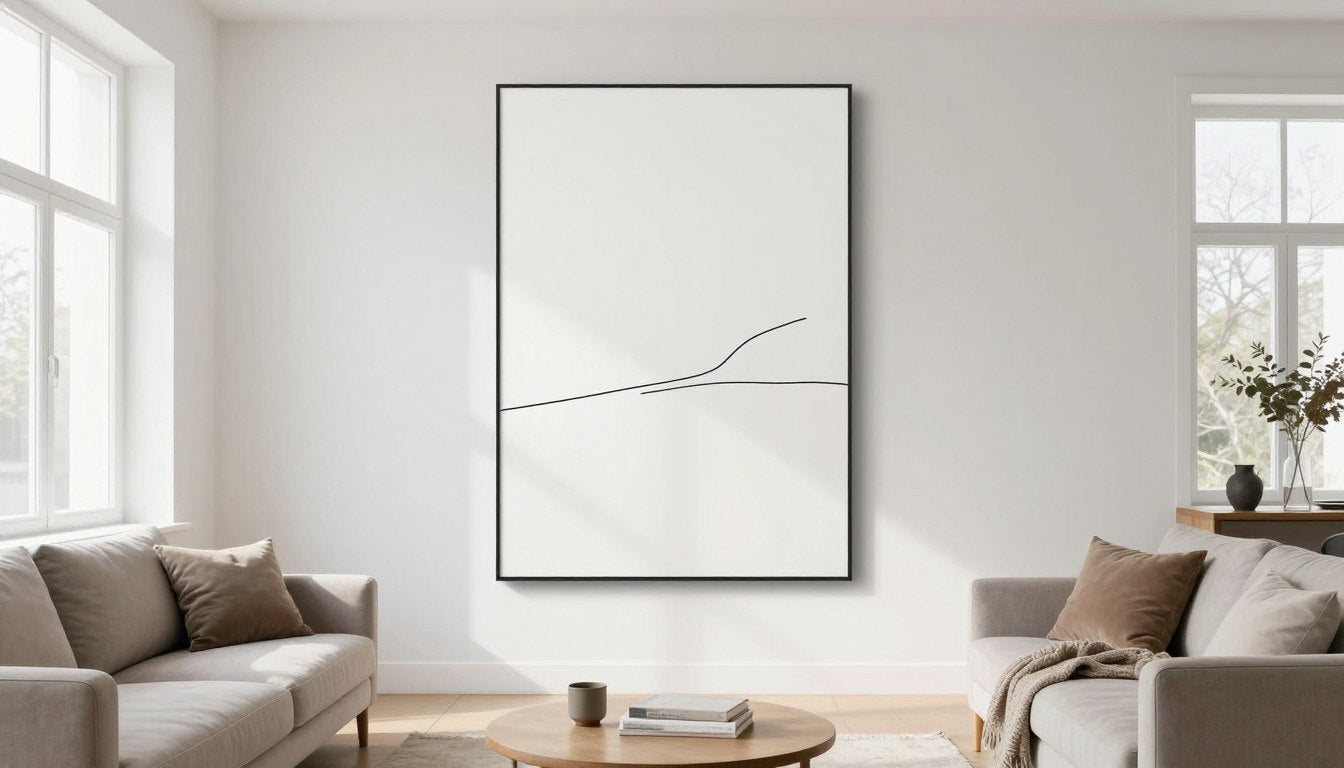
Line Art Canvas Prints
Elegant continuous line drawings that add sophistication without overwhelming your space. Ideal for bedrooms and entryways.

Black & White Canvas Prints
Timeless monochrome pieces that complement any color scheme. These work beautifully in both modern and traditional interiors.
Understanding the Eye Level Rule for Hanging Art
The most important principle in hanging artwork is the eye level rule. Professional galleries and museums use this standard. The center of your artwork should align with the average eye level of viewers.

What Is Average Eye Level?
Average eye level measures between 57 and 60 inches from the floor. This height works for most people in most spaces. When you hang art with its center at this distance, viewers can appreciate the piece comfortably without straining their necks.
Museums worldwide use the 57-inch standard. The Smithsonian and the Metropolitan Museum of Art both position artwork at this height. This measurement has been tested across thousands of visitors over decades.

Adjusting for Your Space and Viewers
The 57-inch rule provides a starting point. You may need to adjust based on specific factors. If your household members are particularly tall or short, move the center point up or down by two to three inches.
Consider where people view the art most often. In dining rooms, people sit more than they stand. Lower the artwork slightly so diners enjoy it from their seats. The same applies to bedroom art where you view pieces while lying down. For a full breakdown of these adjustments room by room, see our designer rules for wall art placement.
Pro Tip: For living room wall art, maintain the standard 57-inch center point. Most viewing happens while standing or sitting on furniture at standard heights. This creates the most balanced look in your main living space.
Measuring and Marking: Getting It Right the First Time
Accurate measuring prevents costly mistakes. One wrong nail hole can damage drywall and ruin your wall's appearance. Follow these steps to mark the correct position before making any holes.
Tools You Need
- Tape measure for vertical and horizontal measurements
- Pencil for marking wall positions lightly
- Level tool to ensure artwork hangs straight
- Painter's tape for visualizing placement without marks
- Hammer and appropriate hanging hardware
- Stud finder if hanging heavy pieces

The Step-by-Step Measuring Process
- Measure your artwork height from top to bottom
- Divide that number by two to find the center point
- Measure from the top of the frame to the hanging wire or hook when pulled taut
- Subtract this distance from the center point
- Add 57 inches to this final number
- Mark this height on your wall with a light pencil mark
Here is an example with real numbers. Your artwork measures 24 inches tall. Half of 24 equals 12 inches to the center. The wire measures 3 inches below the top edge when pulled tight. Subtract 3 from 12 to get 9 inches. Add 57 inches to get your final mark at 66 inches from the floor.
This video tutorial demonstrates the complete measuring and marking process. Watch how to find the center point and mark your wall accurately for perfect placement every time.
Hanging Art Above Furniture: Couch, Bed, and Console Rules
Artwork above furniture requires special consideration. The piece needs proper relationship to both the furniture below and the wall space around it. Getting this balance right creates cohesive room design.

The Distance Rule
Hang artwork six to eight inches above furniture. This spacing connects the piece to the furniture without making it sit too high. The gap should feel intentional but not excessive.
Measure from the top of the furniture back to the bottom of your frame. Six inches works for standard height sofas and beds. Add two inches if your furniture sits particularly low to the ground.
Width and Scale Considerations
Your artwork should span two-thirds to three-quarters the width of the furniture below. A piece too small looks disconnected and lost. A piece too large overwhelms the furniture and crowds the wall.
For a standard 84-inch couch, choose artwork between 56 and 63 inches wide. You can achieve this width with one large piece or a set of canvas prints arranged side by side.


Console and Buffet Placement
Narrow furniture like consoles and buffets needs different treatment. These pieces often sit in entryways or dining rooms where people pass by rather than sit.
Keep the six-to-eight-inch distance rule. But adjust the width to match the furniture exactly or go slightly wider. Console tables look best with entryway wall art that creates a focal point without overwhelming the narrow furniture piece.
Match This Vibe to Your Space
Now that you understand proper placement above furniture, choose artwork that complements your room's aesthetic. Our curated collections make it easy to find pieces with the right scale, color palette, and mood for your specific space.
Creating Gallery Walls: Spacing and Arrangement Strategies
Gallery walls showcase multiple pieces in one cohesive arrangement. These collections require careful planning. The space between frames matters as much as the individual pieces.

Spacing Between Pieces
Maintain two to three inches between all frames in a gallery wall. This spacing creates unity while letting each piece breathe. Too little space makes the collection feel cramped. Too much space breaks the visual connection between pieces.
Use painter's tape to map your layout before making holes. Cut pieces of tape to match each frame size. Arrange them on the wall until you find the perfect configuration. This method lets you experiment without damaging walls.
Gallery Wall Layout Options
Grid Layout
Arrange frames in straight rows and columns. All pieces should be the same size and have matching frames. This creates a structured, modern look.
Grid layouts work best with matching canvas print sets. The uniformity creates impact through repetition rather than variety.
Salon-Style Layout
Mix different frame sizes and orientations. Start with your largest piece at eye level. Build outward by adding smaller works around the central piece.
Salon walls offer more flexibility. You can add pieces over time as your collection grows without disrupting the overall arrangement.

Planning Your Gallery Wall Dimensions
Treat your entire gallery wall as one large piece of art. The total arrangement should follow the same rules as a single artwork. The overall width should span two-thirds of any furniture below.
The center of your entire arrangement should sit at average eye level. Find the vertical center point of your complete layout. Position this center at 57 to 60 inches from the floor. This ensures the gallery wall feels properly anchored in the space.
How to Hang Canvas Prints and Framed Artwork
Different types of artwork require different hanging methods. Canvas prints typically weigh less than framed pieces. Understanding these differences helps you choose the right hardware and avoid accidents.

Hanging Lightweight Canvas Prints
Most canvas prints weigh less than 10 pounds. These lighter pieces work with simple picture hooks or adhesive strips. No need to find wall studs for standard-sized canvas.
Canvas prints typically come ready to hang with built-in mounting hardware. Look for sawtooth hangers on the back edge or pre-installed hanging wire. These make installation straightforward.
Step-by-Step Canvas Hanging
- Mark your wall at the calculated height
- Install a picture hook rated for your canvas weight
- Hang the canvas on the hook using the sawtooth hanger
- Use a level to check if the piece hangs straight
- Make small adjustments by gently shifting the canvas

Securing Heavier Framed Work
Glass-covered frames and larger artwork require stronger support. Pieces over 10 pounds need wall anchors or stud mounting. The added weight of glass and heavy frames demands more secure installation.
Use a stud finder to locate wall studs. Screwing directly into studs provides maximum support. When studs are not positioned where you need them, use toggle bolts or drywall anchors rated for twice your artwork's weight.
Hardware Weight Ratings: Always check the weight rating on picture hooks and anchors. A hook rated for 20 pounds can hold a 10-pound piece safely. The two-to-one ratio provides a safety margin that prevents accidents and wall damage.

Common Hanging Mistakes to Avoid
Even experienced decorators make hanging errors. These mistakes create awkward room layouts and force you to repair walls. Learning what not to do saves time and prevents damage.
Hanging Art Too High
The most frequent mistake is hanging artwork too high. People strain their necks looking up at art floating near the ceiling. This placement disconnects the piece from the room and makes spaces feel unbalanced.
Remember the center of the artwork should sit at eye level. Not the top of the frame. Many people mistakenly position the frame top at 60 inches. This pushes the center well above comfortable viewing height.

Ignoring Furniture Relationships
Artwork needs visual connection to furniture below. Hanging pieces too far above a couch or bed creates a gap that looks intentional but wrong. The art appears to float with no anchor to the room.
Maintain that six-to-eight-inch distance between furniture and artwork. This spacing creates intentional relationship without crowding.
Do These Things
- Measure twice before making holes
- Use proper anchors for artwork weight
- Check level before finalizing placement
- Consider room lighting on artwork
- Match artwork scale to wall and furniture size
- Plan gallery walls on paper first
Avoid These Mistakes
- Hanging art too high above eye level
- Using insufficient hanging hardware
- Ignoring furniture width when choosing art size
- Placing artwork in high-humidity areas without protection
- Making permanent marks before testing placement
- Mixing too many frame styles in one gallery wall
Choosing Wrong-Sized Pieces
Small artwork on large walls disappears. Oversized pieces on small walls overwhelm the space. Scale matters as much as placement height.
For bedroom canvas prints, choose pieces that fit the intimate scale of sleeping spaces. For office canvas art, select works that command attention without distracting from work.
Room-by-Room Hanging Guidelines
Each room in your home serves different functions. These functions affect how you should hang art. What works in a living room may not suit a dining room or bedroom.

Living Room Art Placement
Living rooms accommodate both standing and seated viewers. Stick to the standard 57-inch center rule. This height works whether guests stand chatting or sit on sofas.
- Hang large statement pieces above sofas
- Create gallery walls on empty accent walls
- Position art to avoid glare from windows
- Consider living room wall art as a focal point
Bedroom Hanging Tips
Bedrooms require lower placement since you view art while lying down. Drop the center point to 54 inches for pieces above beds.
- Choose calming subjects and colors
- Avoid heavy frames above the bed for safety
- Position art where morning light won't create glare
- Select bedroom canvas prints that promote relaxation
Dining Room Considerations
Diners sit throughout meals. Art should look good from seated positions. Lower artwork slightly to accommodate this viewing angle.
- Hang art at 54-56 inches for seated viewing
- Avoid pieces that distract from table conversations
- Choose dining room wall art that complements your table
- Consider lighting effects during evening meals
Entryway Art Strategy
Entryways create first impressions. Art here should welcome guests and set your home's tone. This space allows for bolder choices.
- Use entryway wall art to establish style
- Position pieces where guests naturally look
- Ensure adequate lighting for artwork visibility
- Balance art with console furniture below

Advanced Hanging Techniques for Challenging Situations
Some walls present unique challenges. High ceilings, awkward corners, and architectural features require adapted approaches. These situations demand creative solutions while maintaining design principles.
Dealing with High Ceilings
Rooms with 10-foot or higher ceilings can make standard art placement look too low. You need to adjust your approach while keeping pieces accessible to viewers.
For very tall walls, create a gallery wall that extends vertically. The center of the entire arrangement should still sit near eye level. Additional pieces above and below create impact without placing individual frames too high.

Hanging Art on Stairway Walls
Stairway walls slope at an angle. This creates varying distances from the floor. The eye level rule still applies but requires adjustment at each step.
Maintain consistent height from the stair treads rather than the floor. Measure 60 inches up from each step where artwork will hang. This creates an ascending arrangement that follows the stairway angle naturally.

Corner and Awkward Space Solutions
Corners and narrow walls seem tricky for hanging art. But these spaces offer opportunities for smaller works that might get lost on large walls.
Use corners to create intimate vignettes. Pair smaller pieces with furniture or decorative objects. These arrangements turn awkward spaces into intentional design moments.
Hanging Without Damaging Walls
Rental homes and apartments often prohibit nail holes. Several no-damage hanging options exist that provide secure mounting without permanent marks.
- Picture hanging strips rated for various weights
- Removable adhesive hooks for lightweight canvas
- Cable hanging systems suspended from crown molding
- Freestanding easels for large statement pieces
- Leaning art against walls when weight and size allow
Wall Surface Matters: Textured walls, brick, and concrete require specialized hanging methods. Standard picture hooks may not grip properly on these surfaces. Use masonry anchors for brick and concrete. Consider adhesive alternatives for heavily textured drywall.
Lighting Your Artwork for Maximum Impact
Proper lighting transforms artwork from decoration into focal points. Natural light, artificial light, and shadows all affect how viewers perceive your pieces. Understanding these effects helps you place and light art effectively.

Natural Light Considerations
Windows provide beautiful illumination but can damage artwork over time. Direct sunlight fades colors and degrades canvas and paper. Position pieces where they receive indirect natural light.
Observe how sunlight moves through your room throughout the day. Avoid hanging valuable art where afternoon sun hits directly. UV-filtering glass helps protect framed pieces in bright rooms.
Artificial Lighting Options
Picture lights mounted above frames provide focused illumination. Track lighting offers flexibility to adjust beams as you change artwork. Both options create gallery-quality presentation at home.
LED bulbs in warm white temperatures work best for art lighting. They produce minimal heat that could damage artwork. Position lights at 30-degree angles to minimize glare on glass-covered pieces.

Ready-to-Hang, Museum-Quality Canvas
Our canvas prints arrive with all mounting hardware included. No complicated installation. No special tools required. Free worldwide shipping means your art arrives safely at your door. Transform your space today with pieces designed for easy hanging and lasting beauty.
Frequently Asked Questions About Hanging Wall Art
What is the standard height to hang wall art?
The standard height places the center of your artwork at 57 to 60 inches from the floor. This measurement aligns with average eye level for most adults. Museums and galleries worldwide use this standard because it allows comfortable viewing without neck strain. Measure to the artwork's center point, not the top or bottom of the frame.
How far above a couch should I hang artwork?
Hang artwork six to eight inches above your couch. This spacing creates visual connection between the furniture and the piece without making the art sit too high. Measure from the top of the sofa back to the bottom edge of your frame. The artwork should also span about two-thirds to three-quarters of the couch width for proper scale. For inspiration, browse living room wall art sized appropriately for above-sofa placement.
Can I hang canvas prints without making holes in the wall?
Yes, several no-damage methods work for hanging canvas. Picture hanging strips rated for your canvas weight provide strong hold without nails. Removable adhesive hooks work for lightweight pieces under 5 pounds. Cable hanging systems suspend from crown molding with no wall penetration. These options suit rental properties and homes where you want to avoid permanent marks. Our ready-to-hang canvas prints work with all these mounting methods.
How do I create a gallery wall with proper spacing?
Maintain two to three inches between all frames in your gallery wall. This consistent spacing unifies the collection while giving each piece room to breathe. Use painter's tape to map your layout before making holes. Cut tape pieces matching each frame size and arrange them on the wall. The center of your entire gallery wall arrangement should sit at eye level, just like a single piece. Consider using matching canvas print sets for cohesive gallery walls that simplify the planning process.
What tools do I need to hang wall art correctly?
Essential tools include a tape measure for accurate dimensions, a level to ensure straight hanging, a pencil for light wall marks, and a hammer for installing hooks. Add a stud finder if hanging heavy pieces over 10 pounds. Painter's tape helps visualize placement before making permanent marks. Choose picture hooks or wall anchors rated for twice your artwork's weight. These basic tools prevent mistakes and protect your walls from unnecessary damage.
Should I hang art differently in bedrooms versus living rooms?
Yes, bedroom art placement should account for viewing while lying down. Lower the center point to about 54 inches instead of the standard 57 inches. Living rooms maintain the standard eye level height since people view art while standing and sitting on furniture. Choose calming subjects for bedroom spaces and bolder statement pieces for living areas where you entertain guests. The functional difference between rooms affects both placement height and artwork selection.
How do I hang art on a staircase wall?
Measure 60 inches up from each stair tread where you plan to hang artwork. This creates an ascending arrangement that follows the natural stairway angle. The pieces should form a diagonal line that parallels the stair slope. Maintain consistent spacing between frames, typically two to three inches. This approach looks more natural than trying to maintain level height from the floor, which would create an awkward diagonal gap pattern.
What size artwork should I choose for my wall space?
Artwork should fill about two-thirds to three-quarters of the available wall space or furniture width below it. Measure your wall or furniture to calculate the ideal artwork dimensions. For a 72-inch sofa, choose pieces between 48 and 54 inches wide. Small art on large walls looks lost and disconnected. Oversized pieces crowd the space. When selecting abstract canvas prints or other styles, always consider the scale relationship to your specific wall and furniture dimensions.
Transform Your Space With Confidence
Hanging wall art correctly creates balanced, professional-looking rooms. The techniques in this guide remove guesswork from the process. You now understand eye level placement, furniture relationships, and spacing rules that make art look intentional.
Start with one piece at a time. Measure carefully, mark lightly, and check your level before finalizing placement. These simple steps prevent mistakes that damage walls and waste time.

Your walls deserve art that reflects your style and personality. Browse our curated collections of canvas prints, original paintings, and modern sculptures. Each piece arrives ready to hang with included hardware and free worldwide shipping.
Explore specific styles that match your vision. Our abstract canvas prints make bold statements in contemporary spaces. Botanical wall art brings organic beauty to any room. Black and white canvas prints offer timeless elegance that complements every decor style.
For more design inspiration and practical tips, visit our blog. You will find guides on choosing art for small spaces, creating cohesive color schemes, and styling rooms with confidence. Transform your house into a home that tells your story through carefully selected and perfectly placed artwork.

About the Author
Chiara Rossetti
Chiara Rossetti is the founder of Rossetti Art, a canvas print and original art brand. She writes about interior design, wall art styling, and the art of making a home feel alive.


Leave a comment
This site is protected by hCaptcha and the hCaptcha Privacy Policy and Terms of Service apply.