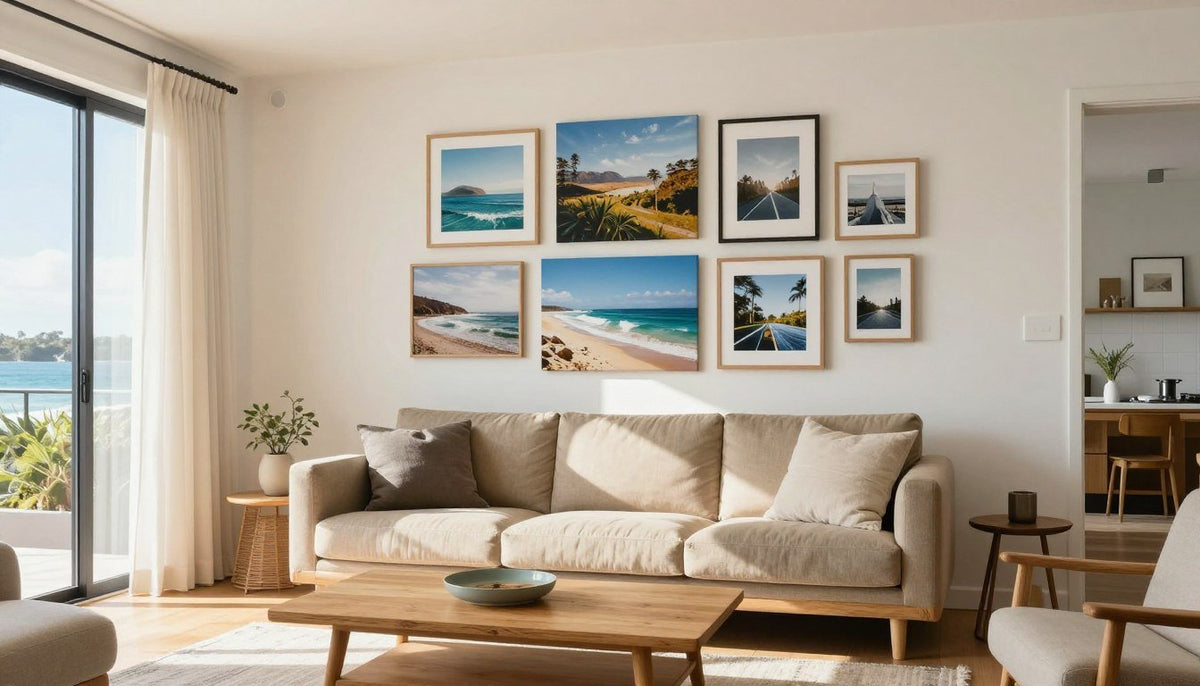
A well-planned picture wall transforms a plain room into an inviting space filled with personality and warmth. Bringing together family photographs, graphic artwork, and textured prints creates a balanced focal point that reflects everyday life without feeling chaotic.
Careful spacing, a consistent colour palette, and the right layout decide whether a photo wall feels cohesive or cluttered. Selecting complementary pieces and choosing durable presentation methods allows any wall display to sit naturally within a modern home.

Quick Answer: Creating a Balanced Photo Wall
To design an attractive photo wall, select a clear theme and choose one primary artwork to anchor the entire arrangement. Maintain consistent gaps between every piece and align the display relative to central eye level or the furniture beneath it.
Unifying the display through repeating tones or matching framing profiles helps disparate images look intentional together. Pre-arranging pieces on the floor or testing their proportions on the wall simplifies the installation process.
Ready to Design Your Picture Display?
Discover high-grade canvas artwork designed to anchor your home arrangements, complete with free worldwide shipping on every piece.
Ideas for Pictures on the Wall
Combining personal photography with graphic art prints produces a dynamic, layered display in a living room or hallway. Rather than hanging identical snapshots, mix candid family moments with architectural shots, botanical textures, and bold contemporary art prints.
Establishing a unified tonal range keeps diverse subjects visually linked across the entire wall. Pulling accent colours from your cushions, rugs, or nearby timber furniture creates a natural relationship between the artwork and the surrounding space.
When selecting prints, pairing contrasting visual styles adds interest while keeping the collection orderly. Reviewing practical strategies in How to Mix and Match Art Prints for a Stunning Gallery Wall assists in balancing monochrome portraits against vibrant graphic designs.

Mixing personal memories with striking visual artwork creates an engaging, personalised wall display.
- Combine candid personal pictures with geometric prints to break up visual repetition.
- Anchor the centre of the wall with one substantial statement piece before arranging smaller images around it.
- Limit the primary colour scheme across varied prints to two or three dominant hues for a tidy appearance.
- Incorporate textured canvas alongside framed glass prints to introduce depth and tactile interest.
Symmetrical Grid Layout with Modern Muse
A symmetrical grid layout brings formal structure and visual clarity to expansive living room walls. Arranging uniform square pieces in tidy rows creates a tidy, graphic impact that complements contemporary architecture and clean furniture lines.
The Modern Muse canvas print serves as an ideal centrepiece for grid-based wall designs. This vintage pop art portrait features square sizing from 20x20 to 58x58 in, offering vibrant tones of hot pink, turquoise, yellow, green, purple, orange, and grayscale.
Because the portrait carries high visual energy, placing it within a neat four-piece or nine-piece grid provides balance. Surrounding the colourful vintage pop art portrait with simpler black-and-white images lets the primary subject pop while preserving architectural order.
Grid arrangements require exact alignment between adjacent frames. Keeping precise spacing between all square pieces preserves the structured look of the installation.
Every piece is printed on artist-grade poly-cotton canvas using UV- and fade-resistant HP latex inks that carry UL GREENGUARD Gold certification. Stretched by hand over a 1.25-inch hardwood stretcher frame, the satin-matte low-glare finish prevents harsh overhead light reflections in bright rooms.
Vertical Column Layout with Chromatic Circles
Narrow architectural zones such as stairwells, hallway ends, and entry pillars benefit from a vertical column layout. Stacking vertical pieces along a shared central axis draws the eye upward and creates an impression of heightened ceilings.
The Chromatic Circles canvas print delivers the exact proportions needed for tall vertical arrangements. Offered in vertical sizes from 16x24 to 53x75 in, this geometric Op Art design incorporates red, blue, yellow, pink, green, purple, and orange hues in a Bauhaus-inspired style.
The rhythmic circles and Bauhaus-inspired geometry create movement along tall walls. Stacking vertical formats along a slender wall makes efficient use of compact footprints while establishing an unmistakable visual anchor.

Vertical arrangements maximise vertical wall height in stairwells, entries, and compact structural pillars.
Aligning the vertical centres of stacked prints creates a clean visual line. This approach prevents tall arrangements from feeling unbalanced or tilting inward.
Each canvas arrives ready to hang, simplifying installation across tricky vertical wall areas. An optional floater frame handcrafted from poplar hardwood features a 5/16 in shadow gap sized to fit the canvas, accentuating the crisp outer edge.
Organic Balanced Layout with Pale Moon
An organic layout arranges pictures of varying shapes outward from an anchor piece without strict outer boundaries. This relaxed approach allows your collection to expand over time as you acquire new travel memories and family snapshots.
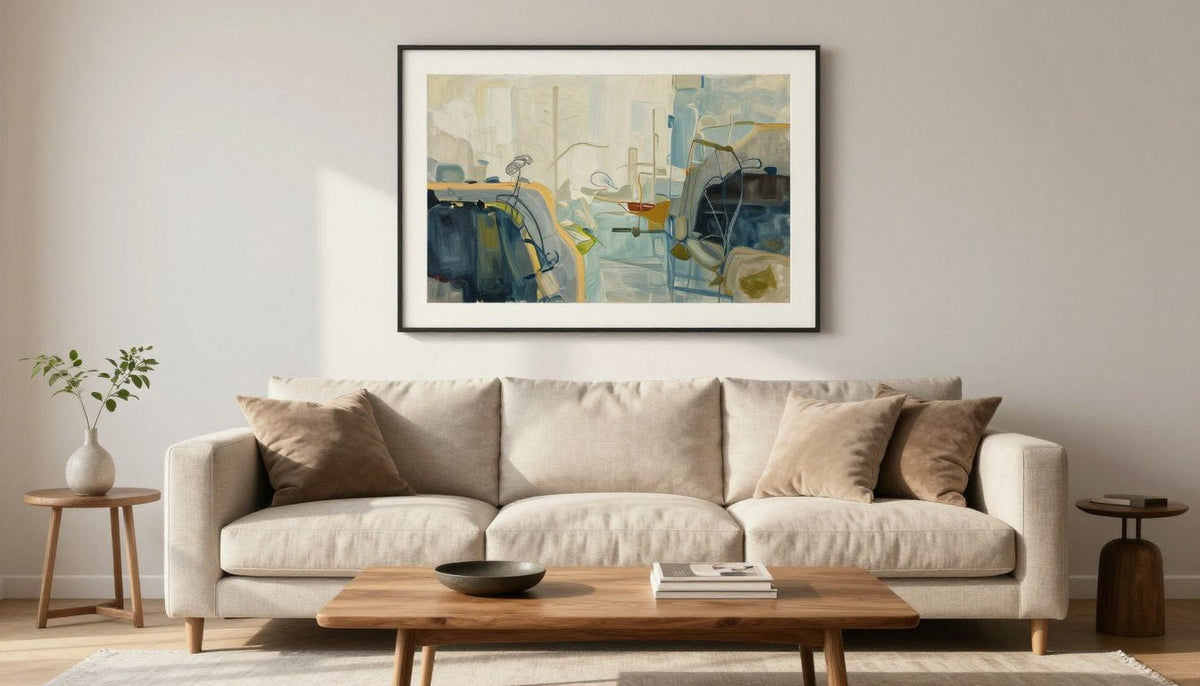
The Pale Moon canvas print provides a soothing, grounded centre for an organic wall design. Featuring square sizing from 20x20 to 58x58 in, its textured wabi-sabi abstraction uses warm cream, sand, soft beige, and ink black to establish an understated visual foundation.
Surrounding this textured abstract anchor with smaller travel photos, line drawings, and personal portraits prevents the display from looking messy. Exploring compositional approaches in Gallery Walls in 2026: More Curated, Less Cluttered (3 Layout Recipes) provides structured guidance on maintaining visual equilibrium across asymmetrical groupings.
Organic displays require a dominant visual anchor. Without a substantial central piece like a large square canvas, asymmetric clusters risk appearing disjointed.
The understated warm cream, sand, soft beige, and ink black palette coordinates smoothly with timber framing and personal photography. Arriving ready to hang with a satin-matte low-glare finish, the piece brings understated texture to any living room gathering space.
Comparing Photo Wall Layouts
Selecting the right arrangement depends directly on the dimensions of your wall and the number of pictures you plan to display. Structured formats suit formal entertaining rooms, while flexible arrangements adapt well to casual living zones.
Review the primary layout styles below to determine which setup matches your room shape and artwork selection.
| Layout | Pieces | Spacing | Best wall |
|---|---|---|---|
| Symmetrical Grid | Four or nine | Uniform tight gaps | Wide living room focal walls needing structured visual balance. |
| Vertical Column | Two to three | Consistent vertical gaps | Narrow entryways, stairwell landings, and compact architectural pillars. |
| Organic Balanced | Five to seven | Equal central breathing room | Open living areas accommodating evolving collections of varied print sizes. |
Spacing Between Frames and Art
Correct spacing prevents a wall display from feeling cramped or disconnected. Placing frames too far apart causes the collection to lose cohesion, while positioning them too tightly creates visual clutter.
Aim to position the midpoint of your overall picture arrangement at standing eye level, approximately aligned with natural sightlines. When positioning a cluster over a sofa or console, leave comfortable breathing space above the backrest so the display feels anchored rather than crowded.
Consulting practical instructions in How to Hang Canvas Paintings assists in measuring hanging points accurately before drilling into plaster. Keeping consistent distance between individual items maintains rhythm across the entire installation.

Consistent distance between adjacent frames keeps mixed collections feeling unified and intentional.
- Keep uniform distance between all edges.
- Align outside boundaries precisely.
- Use matching frame depths throughout.
Grid Layout Spacing
- Maintain balanced gaps from the central anchor.
- Allow external boundaries to vary naturally.
- Mix canvas depths with slim timber profiles.
Organic Layout Spacing
Choosing Frames and Finishes for Wall Displays
Frame materials influence how formal or casual your picture wall appears within the room. Repeating consistent framing materials across multiple pictures helps unify varied photography styles, sketches, and prints.
Canvas artwork mounted over a 1.25-inch hardwood stretcher frame provides clean, frameless borders that let colours wrap directly around the sides. For a refined, elevated border, an optional floater frame handcrafted from poplar hardwood leaves a deliberate 5/16 in shadow gap around the canvas edge.
Major art institutions such as The Metropolitan Museum of Art demonstrate how consistent mounting styles preserve visual focus across historic and modern galleries. Selecting low-glare finishes supports viewing from multiple seating positions across a well-lit living room.
A satin-matte low-glare finish reduces unwanted light reflection from large windows. This keeps printed artwork visible across bright open-plan interiors.
Combining canvas prints with traditional timber glass frames introduces pleasant physical depth to the wall. The varied projection depths break up flat plaster surfaces while honouring your chosen colour palette.
Planning Your Wall Step by Step
Testing your picture layout prior to driving nails into the wall prevents unnecessary plaster repairs. Clear a space on the living room floor matching the wall dimensions and experiment with various arrangements until the grouping feels stable.
Cut craft paper templates matching the dimensions of each frame and attach them to the wall with low-tack painter tape. Stepping back allows you to evaluate sightlines from doorways, seating areas, and adjacent hallways before committing to final hanging positions.

Paper mockups allow you to adjust frame positions and sightlines before making permanent mounting holes.
Every piece from Rossetti Art is made to order, with production taking 3 to 5 business days followed by 8 to 10 business days shipping with tracking. A 30-day full refund applies to standard sizes, while sizes with a side of 40 in / 100 cm or more and custom sizes are final sale except shipping damage or defect.
See It on Your Wall Before You Buy
Evaluate sizing, framing, and colours directly inside your own living space using the interactive camera preview tool on every collection page.
Frequently Asked Questions
What are good ideas for pictures on the wall?
Good picture wall ideas combine candid personal photos with textured canvas art, line drawings, and vintage pop art prints. Unifying these varied pieces around a shared colour palette or matching timber frames helps personal memories and bold artwork sit comfortably together without visual clutter.
How do you arrange a photo wall?
Arrange a photo wall by positioning a prominent anchor piece slightly off-centre or directly in the middle at eye level. Work outward from that anchor, maintaining consistent gaps between adjacent frames, and balance visual weights across both sides to produce a settled, harmonious wall display.
How far apart should frames be?
Frames look best when spaced with a consistent, comfortable gap that keeps the grouping unified without feeling cramped. Keeping identical distances between every edge in a grid, or maintaining balanced breathing room around an organic cluster, prevents individual pictures from competing against one another.
Can you mix canvas and framed pictures?
Yes, mixing stretched canvas with traditional framed pictures adds tactile depth and visual dimension to any wall. Stretched canvas brings textured, low-glare appeal, while glazed frames introduce slim profile borders that break up flat wall surfaces across contemporary living areas.
How many pictures for a photo wall?
The right number of pictures depends on your wall dimensions and chosen layout style. Small structural pillars or entry halls suit two or three vertically stacked prints, while spacious living room walls comfortably accommodate four to nine pieces arranged in grids or organic groupings.
Bringing Your Wall of Pictures Together
Designing a picture wall is an enjoyable way to showcase personal memories alongside striking artwork that elevates your living space. Taking time to map your layout on the floor and maintaining consistent gaps between pieces creates an orderly, stylish focal point that enriches your home for years to come.

About the Author
Chiara Rossetti
Chiara Rossetti is the founder of Rossetti Art, a canvas print and original art brand. She writes about interior design, wall art styling, and the art of making a home feel alive.

Leave a comment
This site is protected by hCaptcha and the hCaptcha Privacy Policy and Terms of Service apply.