
Transforming your favorite poster into a canvas display creates a gallery-worthy piece without the expense of professional framing. This Poster to Canvas DIY guide will walk you through creating a smooth, bubble-free finish that looks polished and professional. With the right techniques, you'll be able to showcase your art with a clean, frameless look that enhances any room.
TL;DR Quick Guide
- Best method for clean results: Apply thin, even adhesive + use a brayer/squeegee + apply multiple sealing coats
- Biggest mistake: Using too much glue and rushing the dry time
- Want true canvas texture? A canvas print is the easiest professional upgrade
What You'll Need (Materials & Tools)

Essential Materials
- Canvas board or stretched canvas - Choose a size that matches or is slightly larger than your poster
- Poster or print - Use only posters you own the rights to (your photos, licensed prints, or public domain images)
- Decoupage medium - Mod Podge matte finish works well (find it in our decoupage supplies checklist)
- Sealer - Matte, satin, or gloss finish depending on your preference
Tools You'll Need
- Foam brush - For applying adhesive and sealer evenly
- Soft brush - For smoothing and detail work
- Brayer or plastic squeegee - Essential for removing bubbles (a credit card wrapped in microfiber cloth works too)
- Scissors or craft knife - For trimming excess poster material
- Ruler - For measuring and creating straight edges
- Wax paper - To protect your work surface
Safety Note: Always work in a well-ventilated area when using adhesives and sealants. Some products may cause skin irritation, so consider wearing gloves. Remember to only use posters you own the rights to or have permission to reproduce.
Choose the Right Canvas (So It Doesn't Warp)

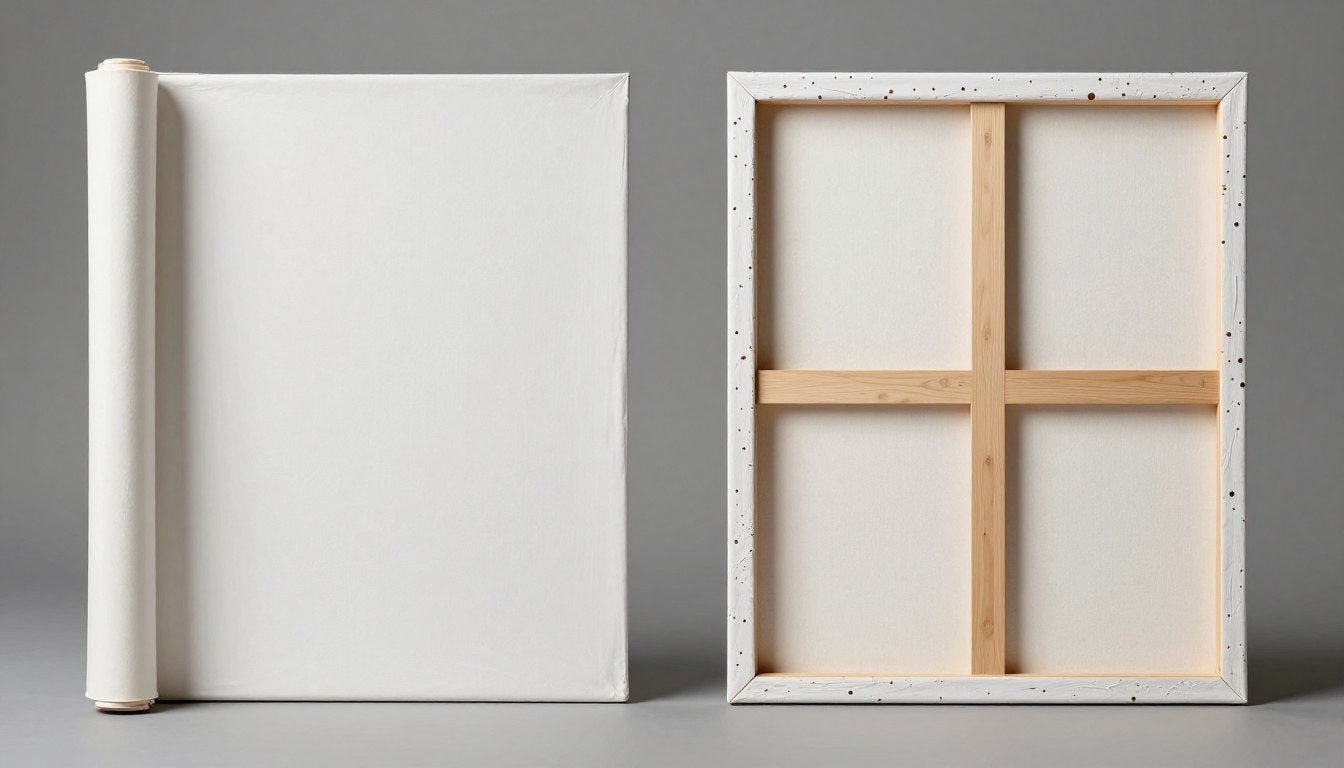
Canvas Board vs. Stretched Canvas
Canvas boards are rigid, flat surfaces covered with canvas material. They're less prone to warping but don't provide the same gallery-wrapped look as stretched canvas. Stretched canvas offers that professional, frameless appearance but requires more care during the mounting process to prevent warping.
Thickness Matters
For poster mounting, thicker canvas (at least 3/4 inch depth) provides better stability and reduces the risk of warping. Thinner canvases may buckle under the moisture from adhesives, especially with larger posters.
Sizing Tips
Choose a canvas slightly larger than your poster to allow for trimming or wrapping edges. For a border effect, select a canvas 1-2 inches larger on each side. If you plan to wrap the poster edges around the canvas, ensure your poster is at least 2 inches larger than the front face of the canvas.
Method Comparison: Finding Your Perfect Approach
| Method | Best For | Bubble Risk | Wrinkle Risk | Finish Look | Dry Time | Skill Level |
| Decoupage Medium (Mod Podge) | Most posters, photos on photo paper | Medium | Medium | Smooth with slight texture | 24 hours | Beginner to Intermediate |
| Spray Adhesive | Thin posters, lightweight paper | High | Medium | Paper-flat | 1-2 hours | Intermediate |
| Acrylic Gel Medium | Art prints, thicker papers | Low | Low | Canvas-like texture possible | 24-48 hours | Intermediate |
| Heat-Activated Film | Photos, thin prints | Low | Low | Smooth, glossy | Immediate after cooling | Advanced |
Bubble-Free Checklist (60 seconds)
- Pre-fit dry to check alignment
- Apply glue thin and evenly
- Lay poster from one edge down gradually
- Squeegee from center outward
- Wipe away excess adhesive immediately
- Dry under weight (especially for canvas board)
- Apply sealing coats in thin layers
Step-by-Step: How to Put a Poster on Canvas (Decoupage Method)

-
Prep the Surface
Clean your canvas to remove any dust or debris. For canvas boards, a light sanding with fine-grit sandpaper can help the adhesive bond better. Wipe clean with a lint-free cloth.
-
Dry-Fit and Mark Alignment
Place your poster on the canvas without adhesive to check positioning. Make small pencil marks at the corners for alignment. This ensures your poster will be centered when you apply it permanently.
-
Apply Adhesive Layer
Using a foam brush, apply a thin, even layer of Mod Podge or your chosen adhesive to the front of the canvas. Work quickly as the adhesive begins to dry within minutes. Cover the entire surface where the poster will be placed.

-
Position the Poster
Starting from one edge (usually the top), carefully lay your poster onto the adhesive-coated canvas. Align with your pencil marks and gradually lower the poster, working from one side to the other to avoid trapping air bubbles.
-
Smooth Out Bubbles
Using a brayer, plastic card, or squeegee, gently press from the center of the poster outward to remove air bubbles. Work methodically in sections, applying even pressure. Be careful not to tear the paper, especially if it's damp from the adhesive.

Troubleshooting Bubbles
If bubbles appear after smoothing, you can carefully lift the poster at the nearest edge and reapply, or use a tiny pin to release trapped air for stubborn bubbles. For small bubbles, they may disappear as the adhesive dries completely.
-
Allow Proper Drying Time
Let your project dry completely for at least 24 hours. Place books or weights on the edges if using canvas board to prevent curling. For stretched canvas, lay it flat or prop it at a slight angle to dry evenly.
-
Trim Excess or Wrap Edges
Once dry, trim any excess poster material using sharp scissors or a craft knife. Alternatively, for a gallery-wrapped look, you can fold excess poster material around the edges of a stretched canvas and secure with additional adhesive.

-
Apply Sealing Coats
Apply 2-3 thin coats of Mod Podge or clear sealer over the entire surface, allowing each coat to dry completely before applying the next. This protects your poster and creates a uniform finish. Light sanding between coats with very fine sandpaper (optional) creates an ultra-smooth result.
Common Problems (And Fixes)
Bubbles
Problem: Air trapped between poster and canvas.
Fix: Use a pin to make a tiny hole and press air out, then seal over it. Better yet, prevent bubbles by using a brayer and working from center outward.
Wrinkles
Problem: Paper buckling during application.
Fix: Slightly dampen the poster before applying (for some paper types) or use less adhesive. Apply poster in sections rather than all at once.
Warped Canvas
Problem: Canvas bending from moisture.
Fix: Use less adhesive and allow to dry under weight. For severe warping, apply equal moisture to the back of the canvas to balance tension.
Cloudy Topcoat
Problem: White haze over finished project.
Fix: Apply thinner coats of sealer. If already cloudy, lightly sand with ultra-fine sandpaper and apply a quality clear sealer.
Sticky Finish
Problem: Surface remains tacky after drying.
Fix: Ensure adequate drying time between coats (24+ hours in low humidity). Apply a final coat of a different brand of clear sealer.
Peeling Corners
Problem: Edges lifting after drying.
Fix: Apply additional adhesive under lifted areas with a small brush and press down with weight until dry.
Ink Bleeding
Problem: Poster colors running when adhesive applied.
Fix: Test a corner first. For inkjet prints, apply a fixative spray before mounting. Use less adhesive and work quickly.
Brush Streaks
Problem: Visible brush marks in dried sealer.
Fix: Sand lightly between coats with ultra-fine sandpaper. Use foam brushes and apply thin, even coats.
Trapped Dust
Problem: Particles visible under poster or in sealer.
Fix: Work in a clean environment. For dust in sealer, sand lightly and apply another thin coat.
Edge Lifting
Problem: Poster edges curling up.
Fix: Apply additional adhesive under edges and place under weight until completely dry. Seal edges with extra care.
Make It Look "Finished": Edges, Back, and Hanging

Painting the Edges
For a professional gallery look, paint the edges of your canvas to match or complement your poster. Black creates a frame-like effect, while matching a color from your poster creates visual continuity. Apply 2-3 coats of acrylic paint with a small brush for clean lines.
Wrapping the Edges (Advanced)
If your poster is larger than your canvas, you can create a gallery-wrapped effect by folding the excess over the edges. Apply adhesive to the sides of the canvas, then carefully fold and secure the poster material, creating neat corners similar to wrapping a gift.
Adding Bumpers
Attach small felt or rubber bumpers to the bottom corners of the back of your canvas. These protect your walls and help the canvas hang evenly without tilting forward.
Hanging Options
Stretched canvases can be hung using sawtooth hangers, D-rings with wire, or specialized canvas hangers. For a damage-free option, explore ways to hang canvas without nails using removable hooks or mounting strips.
When DIY Isn't Worth It (And Better Alternatives)

While DIY poster mounting can be rewarding, certain situations call for professional alternatives:
When to Choose a Canvas Print Instead
- You want true canvas texture - Professional canvas prints have the ink directly printed onto textured canvas
- The image is valuable - Don't risk damaging important photos or artwork
- You need durability - Canvas prints use UV-resistant inks and professional sealants
- Perfect edges matter - Professional gallery wrapping creates flawless corners
Understanding the difference between wall art and canvas prints can help you decide which option best suits your needs.
For Your Most Special Images
- Professional mounting/framing - For valuable or sentimental pieces
- Custom canvas printing - For photos you want to last generations
- Original artwork - When you want something truly unique
If you've created your own artwork, consider turning your original painting into a canvas print for the best of both worlds - original creation with professional finishing.
Rossetti Art Picks: Canvas Inspiration

Minimal Calm
For spaces that call for elegant simplicity, "Whispered Profile" offers a feminine minimalist portrait with subtle lines and gentle tones. Its understated presence creates a peaceful focal point in any room.
Mid-Century Pop
Bring vibrant energy to your walls with "Retro Flow," a mid-century modern abstract that combines bold colors with flowing forms. This piece adds instant character to contemporary and retro-inspired spaces alike.
Geometric Modern
For lovers of pattern and structure, "Whirling Patterns" offers a sophisticated geometric abstract that creates visual rhythm and movement. Its balanced composition works beautifully in both minimal and eclectic settings.
Ready for Gallery-Quality Canvas?
Skip the DIY process and explore professionally crafted canvas prints with authentic texture and museum-quality finishes.
Explore Canvas Prints Browse Original PaintingsFrequently Asked Questions
What's the best glue for poster to canvas?
Mod Podge Matte Finish is the most versatile and beginner-friendly option for poster to canvas DIY projects. Acrylic gel medium is excellent for art prints and provides more working time. For photos printed on photo paper, photo-specific decoupage mediums offer better results with less risk of ink bleeding.
How do you prevent bubbles when decoupaging?
To prevent bubbles when mounting a poster to canvas: 1) Apply a thin, even layer of adhesive, 2) Position your poster starting from one edge and gradually lay it down, 3) Use a brayer or plastic card to smooth from the center outward, 4) Work in sections rather than trying to smooth the entire poster at once, and 5) Don't oversaturate with adhesive.
Can I use spray adhesive instead of Mod Podge?
Yes, spray adhesive can work for mounting posters to canvas, but it offers less working time and can be trickier to apply evenly. If using spray adhesive, choose an acid-free, permanent formula specifically designed for paper crafts. Apply in a well-ventilated area and use light, even coats on both the canvas and back of the poster.
How long should it dry before sealing?
Allow your mounted poster to dry completely for at least 24 hours before applying any sealing coats. In humid environments, you may need up to 48 hours. Rushing this step can lead to bubbles, wrinkles, or adhesive failure. Once dry, apply thin sealing coats, allowing 2-4 hours between each coat.
Will a matte finish sealer cloud my poster?
Quality matte finish sealers shouldn't significantly cloud your poster if applied correctly in thin, even coats. However, some matte products can create a slight haze, especially over dark colors. Test on a small corner first. If you want maximum clarity while reducing glare, consider a satin finish instead of matte.
Will this DIY method damage my poster permanently?
Yes, mounting a poster to canvas using adhesives is generally a permanent process. Once applied, the poster cannot be removed without damage. This is why it's important to use copies of valuable prints or photos you're willing to commit to this format. For valuable originals, consider professional framing or canvas printing instead.
What's the easiest alternative to DIY canvas mounting?
The easiest alternative is ordering a professional canvas print of your image. Companies like Rossetti Art can print your photo or artwork directly onto canvas with gallery-quality results. This provides true canvas texture, professional edge finishing, and UV-resistant inks without any DIY effort or risk of damage to your original.
Bringing Your Art to Life
Whether you choose the DIY route or opt for a professional canvas print, displaying your favorite images on canvas creates a distinctive, gallery-inspired look for your home. The poster to canvas DIY approach offers a budget-friendly way to transform posters into frameless art, while professional canvas prints provide museum-quality results for your most treasured images.
For those special pieces deserving of the finest presentation, explore Rossetti Art's collection of canvas prints and original paintings, where artistry meets exceptional craftsmanship.
Ready to display your newly created canvas art? Learn how to hang canvas without nails for a damage-free installation that protects both your walls and your artwork.
Leave a comment
This site is protected by hCaptcha and the hCaptcha Privacy Policy and Terms of Service apply.