Can a favorite piece hang on a wall and still feel like the original? Many artists wonder if a faithful reproduction can keep the soul of their work.
The guide that follows shows artists simple, reliable ways to make faithful art reproductions. It covers when scanning at 300 dpi works best and when a DSLR with a 50mm lens gives truer detail. They learn lighting tips like using two matched lights at 45° or working in open shade to avoid glare.
Practical choices matter: keep the lens parallel, allow extra edge room, and edit files gently. Exporting at 300 PPI as JPEG or TIFF helps the final piece hold up on larger formats.
Rossetti Art offers museum-quality canvas options and expert help, so creators can make prints locally and ship worldwide. This short intro sets the stage for clear, step-driven advice that preserves color, texture, and intent.

Key Takeaways
- Choose scanning for small originals; use a DSLR for larger works.
- Light evenly and avoid flash to preserve true color and texture.
- Keep the camera parallel and include extra edge room for cropping.
- Edit minimally: straighten, adjust white balance, and export at 300 PPI.
- Rossetti Art provides museum-quality canvas and support for makers.
Understand the goal: turning original artwork into faithful, long-lasting canvas prints
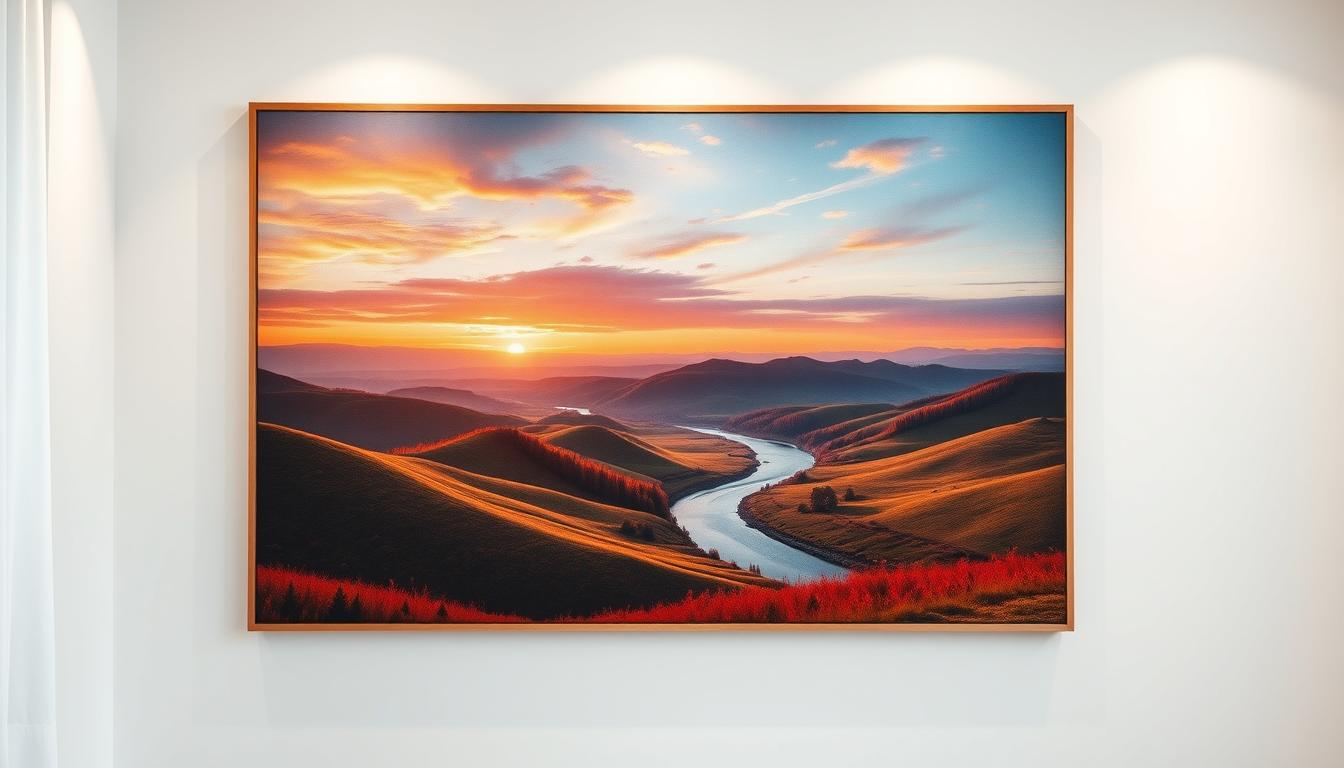
Good reproductions start with a simple goal: preserve the artist’s intent while creating art prints that endure. The focus is on color accuracy, surface detail, and tonal balance so the finished piece feels like the work on the wall.
Longevity matters: capture in color mode, avoid distortion, and export at 300 PPI. Even lighting and accurate white balance give prints that resist fade and look true for years.
Plan the display early. Decide on canvas wraps, framing, and aspect ratio before capture. This saves time and prevents cropping problems later.
- Faithful translation: keep brushwork and tonal intent intact.
- Durability: proper capture and export create archival art prints.
- Workflow: organized file naming and calibration cut rework and protect quality.
With Rossetti Art, creators pair faithful files with museum-quality production. They offer local craft and worldwide delivery for artists who plan to sell limited editions or build a collector experience.
Capture your artwork the right way: scan vs. photograph
Deciding between a flatbed scan and a photographed capture starts with the artwork’s size and texture. Flat, small pieces often benefit from a scanner, while textured or large work usually needs a camera setup that preserves depth.
When scanning: color mode, 300 DPI, and file best practices
Scan if the piece fits the bed and lies flat. Set color mode, use 300 dpi resolution, and save a high-quality JPEG as the initial file. Scanning yields clean detail for paper originals and small paintings with minimal sheen.
When photographing: texture, large sizes, and embellished pieces
Photographing artwork is the best option for large formats, heavy texture, metallics, or varnished surfaces. A DSLR with a 50mm prime at f/5.6–f/11, ISO 100, and correct white balance keeps lines straight and reduces noise.
- Keep the lens parallel to the surface to avoid keystone distortion.
- Use diffused light for glossy or embellished pieces to preserve texture without hotspots.
- Check aspect ratio and size at capture so prints scale without losing important areas.
Choose the option that matches the artwork’s needs and the desired prints. For help with capture choices or Rossetti canvas options, chat at https://m.me/104795508292657.
Photographing artwork like a pro: camera, smartphone, and setup tips
Good photos of artwork begin with control over the lens, light, and angle. Keep paragraphs short and decisions simple for reliable results.
DSLR settings that work
Use a 50mm prime lens to avoid barrel distortion. Set aperture between f/5.6 and f/11, and pick ISO 100 for low noise. Adjust white balance to match the light and, when unsure, bracket a couple of settings.
Smartphone best practices
Clean the lens and never use digital zoom. Steady the device on a table, tripod adapter, or use a timer. These small moves keep a phone image usable for prints.
Keep the shot square
Measure the center height and set the camera exactly parallel to the artwork. Use a tripod and trigger with a remote or timer to avoid blur.
- Leave a small border around the frame for straightening.
- Avoid on-camera flash; use even continuous light.
- Take multiple photos with tiny framing shifts and review on a larger screen before finalizing files for print.
Need hands-on help? 💬 Chat with Rossetti Art → https://m.me/104795508292657. Explore canvas print options: https://rossettiart.com/collections/canvas-print
Light it evenly for true color and crisp detail
Even light brings out true tones and keeps surface detail honest in every image. Good lighting is the step that most affects how art appears in prints. Small changes in angle or distance change reflections and color.
Indoor setup: two identical lights at 45°
Use two identical continuous lights placed at 45° to the artwork. Diffuse each with white sheets or parchment to soften hotspots and protect materials.
Set white balance on the camera and confirm both sides show the same luminance. Avoid flash and use a tripod for sharp shots.

Outdoor option: open shade or overcast light
Choose open shade or an overcast day to prevent harsh highlights. This option yields soft, even illumination that preserves color and subtle texture for prints.
Avoid glare and distortion: distance, angle, exposure checks
Keep the camera perpendicular to the frame and review a test photo at 100% magnification. Small angle shifts can cause keystone distortion visible on the final print.
Adjust light distance or angle to remove bright kicks on varnish or metallics. Use a remote or timer so the tripod stays steady during the exposure.
| Setup | Best for | Key control | Common issue |
|---|---|---|---|
| Indoor, two lights | Studio work; textured pieces | Diffusion, 45° angles, matched bulbs | Specular glare if undiffused |
| Outdoor, open shade | Large canvases; quick sessions | Soft, even sky light; no direct sun | Changing clouds can shift exposure |
| Varnished/metallic works | Any location | Angle tweaks; longer distance | Hotspots that need repositioning |
Test, adjust, and repeat until color is even and edges read straight. Chat if lighting is tricky: https://m.me/104795508292657. Explore Rossetti canvas prints: https://rossettiart.com/collections/canvas-print
Edit for print: straighten, crop, color-correct, and export
A careful edit transforms a camera file into a print-ready master. Start by rotating and straightening so all edges run true. Then crop to the artwork while keeping a safe margin captured earlier.
Maintain the intended aspect ratio so prints scale to common canvas sizes without unwanted trimming. Check the image at 100% for dust or sensor spots that show on paper or canvas.
Set white balance to neutralize casts, adjust contrast and brightness, and apply gentle sharpening. Keep edits subtle so brushwork and surface texture stay natural.
Export a master at 300 PPI in TIFF for full latitude and a high-quality JPEG for streamlined printing and sharing. Name each file with title, size, and date so the workflow stays organized.
| Action | Why it matters | Recommended setting |
|---|---|---|
| Straighten & crop | Avoid keystone and clipping | Keep safe margin; preserve aspect |
| Color balance | Faithful color for prints | Neutral WB; adjust contrast |
| Export | Print-ready files | 300 PPI, TIFF master + JPEG copy |
Tip: If a wrap is planned, extend or mirror edges in the file so the final print wraps cleanly. Explore canvas sizes and options: https://rossettiart.com/collections/canvas-print
How to Turn Your Original Painting into a High-Quality Canvas Print
Select final dimensions that honor the original composition so the printed piece reads like the artwork on the wall. This step prevents awkward cropping and keeps the focal points intact.

Choose size and aspect ratio that match your artwork
Match the print size to the native aspect ratio of the art. This keeps proportions true and avoids rescaling that loses detail.
Leave safe margins for wraps or framing. For series, keep sizes uniform for a cohesive gallery presence.
Select canvas texture and finish for the look you want
Pick a texture that supports the piece: subtle weave for fine detail, heavier tooth for painterly work. Choose a matte or slight sheen finish based on display light and glare concerns.
Confirm printing specs so resolution and sharpening suit the fabric and viewing distance.
Framing and hanging options to complete the piece
Decide on depth, wrap style, and whether a floating frame best suits the palette. Choose hardware, anchors, and spacing up front so installation is secure and level.
Verify proofs and edges before production. Explore sizes and finishes with Rossetti Art: https://rossettiart.com/collections/canvas-print
Why choose Rossetti Art for museum-quality canvas prints made to last
Rossetti Art blends artisan craft with calibrated workflows to keep each reproduction true to the source. They combine premium materials, careful proofing, and consistent color checks so the final piece honors the artist’s intent.
Locally crafted, delivered worldwide: premium materials and color fidelity
Local production ensures consistent timelines and quality control. Each print uses premium canvas and durable coatings. Calibrated printers match the approved proof so color and tone stay faithful.
- Rossetti Art specializes in museum-grade prints on canvas that preserve brushwork and depth.
- They guide artists through file prep so proofs match final printing with fewer revisions.
- Options include multiple sizes, surface choices, and framing for gallery-ready results.
- Support is available by chat for upload questions, finish selection, and delivery details.
Explore options: sizes and finishes. Shop: Rossetti Art. Need help? Chat with us.
“Museum-quality art, locally made and delivered worldwide.”
Conclusion
, A reliable final piece depends on good photos, gentle editing, and wise framing.
Keep each step purposeful. Capture an image with even light, steady the camera at ISO 100 and f/5.6–f/11, then export a 300 PPI file in TIFF or high-quality JPEG.
They should straighten, crop, correct white balance, and sharpen lightly so the art and texture stay true. Thoughtful framing and canvas depth finish the presentation and protect the work for years.

Make prints with confidence: shop Rossetti Art → https://rossettiart.com/ 💬 Chat → https://m.me/104795508292657 🧭 Explore canvas prints → https://rossettiart.com/collections/canvas-print
FAQ
What’s the best way to reproduce a painting for a museum-quality canvas?
The goal is faithful color and texture. Use a high-resolution scan for flat pieces or a carefully photographed image for textured or large works. Capture at 300 PPI or higher, check white balance, and export as TIFF or high-quality JPEG. Choose archival canvas and pigment inks for longevity.
When should an artist use a flatbed scanner instead of taking a photo?
A scanner works best for small, flat works with consistent surface finish. It preserves color and fine detail at 300 DPI or more and produces a clean, distortion-free file. Avoid scanning heavily textured, varnished, or oversized pieces.
What camera settings produce the sharpest reproduction for prints?
A DSLR with a 50mm prime yields natural perspective. Use aperture around f/5.6–f/11, ISO 100, and correct white balance. Shoot RAW for editing flexibility. A sturdy tripod and mirror lock or electronic shutter reduce motion blur.
Can a smartphone capture printable-quality images?
Yes. Clean the lens, disable digital zoom, and use the highest resolution setting. Stabilize with a tripod or steady surface, shoot in natural or controlled light, and edit in a raw-capable app when possible for better color and exposure control.
How should lighting be arranged to avoid glare and preserve accurate color?
Use two identical continuous lights positioned 45 degrees from the artwork, diffused with white umbrellas or sheets. For outdoors, choose open shade or overcast conditions. Check for hotspots, reflections, and even falloff before shooting.
How important is keeping the camera parallel to the artwork?
Very important. Keep the lens parallel and the artwork level to avoid keystone distortion. Use a bubble level on the tripod, align the center of the lens with the center of the piece, and crop for exact framing in post.
What editing steps are essential before sending a file to print?
Straighten and crop while leaving breathing room for wrap or edging. Correct white balance and exposure, adjust contrast conservatively, and apply gentle sharpening. Convert to the printer’s color profile and export at 300 PPI as TIFF or high-quality JPEG.
What resolution and file formats do print labs prefer?
Most labs request 300 PPI at the final print size. Preferred formats are TIFF for lossless quality or high-quality JPEG for smaller files. Include an embedded color profile (sRGB or Adobe RGB as specified) and avoid excessive compression.
How should an artist choose canvas texture and finish?
Match texture to the artwork’s character. A smooth canvas suits detailed, crisp images; a textured weave adds painterly depth for brushwork-heavy pieces. Finish options include matte for reduced glare or satin for mild sheen—select based on viewing conditions.
What are options for image wrap and framing when ordering prints?
Common options include mirrored wrap, colored edge, or image wrap; each affects composition near the edges. Artists can request extra image bleed for gallery wrap or choose a float frame for a clean framed presentation. Provide guidance to the lab about critical edge details.
How long will a high-quality canvas print last?
With archival canvas, pH-neutral coating, and pigment-based inks, prints can last decades without significant fading. Proper framing, UV-protective varnish, and avoidance of direct sunlight extend lifespan even further.
What size should an artist pick relative to the original aspect ratio?
Match the aspect ratio of the original to avoid cropping. If a specific display size is needed, crop carefully or add a neutral border. Communicate exact dimensions and resolution to the print lab to ensure proportions stay true.
Why choose Rossetti Art for printing fine art reproductions?
Rossetti Art offers locally crafted, museum-quality canvas prints with premium materials and color fidelity. They provide worldwide delivery, multiple size options, and customer support for sizing and color questions. Links: https://rossettiart.com/collections/canvas-print and https://rossettiart.com/.
Can artists get help with color matching and file prep?
Yes. Many print studios, including Rossetti Art, offer prepress checks, soft-proofing guidance, and chat support to confirm color profiles and print-ready files. Use previews and request test strips or proofs for critical color matches.

Leave a comment
This site is protected by hCaptcha and the hCaptcha Privacy Policy and Terms of Service apply.