Have you ever wondered why two identical rooms can look so different once they’re done?
This short guide helps you get professional-looking walls by focusing on preparation, product choice, and how light affects the final look in any room.

Old surfaces behave differently from modern drywall, so the prep stage matters more than people expect. Wear a respirator and eye protection when sanding older finishes, test for lead if needed, and choose a true primer rather than a paint-plus-primer on aged surfaces.
Thin, even coats and patient drying give better finish and long-lasting results than rushing one heavy coat. Flat or ultra-matte sheens hide minor flaws, while satin makes cleaning easier under bright light.
Read on for safe testing, repair, priming, rolling, and cutting in—simple steps that make a room feel calm, consistent, and intentionally made.
Key Takeaways
- Prep carefully: safety checks and proper priming matter most.
- Use thin, even coats for a smoother finish and lasting results.
- Match sheen to the room’s light to control glare and visual texture.
- Choose the right tools to keep the space tidy and work efficient.
- Patience and proper drying create a result you’ll be proud to display.
Start Here: A How-To Guide to Painting Plaster Walls and Ceilings for Professional Results
Because older wall substrates absorb moisture faster than modern panels, your prep and primers need upgrading.
Know what changes when you swap drywall methods for older walls. These surfaces are denser and more variable, so they demand inspection, testing, and a sealing primer that blocks stains and improves adhesion.
Plan the job as a clear sequence of steps: inspect, test for old coatings, repair cracks, prime, then apply finish coats. Start at the ceiling to control drips and keep results uniform across each wall.
Expect “thirsty” walls that soak finish quickly. Use an oil-based primer on older substrates to lock in stains and give reliable adhesion for topcoats.
- Cut in edges with a quality brush.
- Roll large areas with the recommended nap for your surface.
- Maintain a wet edge and work methodically across each section.
Allow time between thin coats. Two or three thin applications give a cleaner finish than one heavy coat. A small test patch helps confirm coverage and the chosen sheen before you commit to the whole wall.
Safety, Testing, and Prep: The Foundation of a Flawless Plaster Finish
Before you touch a brush, check for old coatings that can hide hazards and ruin your finish.
Start with safety: use an at-home lead test on older layers and wear a respirator plus eye protection when you sand or strip. Remove failing paint with scrapers or sandpaper; use chemical strippers for intact, stubborn sections so the new paint will bond to a sound surface.
Rake out and stabilise cracks, then fill them correctly. Use paintable caulk for hairline cracks and mesh tape with compound for longer cracks and holes. Sand repairs in two stages—start with rough grit, finish with finer grit to blend patches smoothly.
Control dust, protect the room, and prime smart
Clean surfaces with sugar soap, let them dry, and keep ventilation high while you work. Mask edges with painter’s tape and cover furniture with polythene or carpet protector to save cleanup time.
Spot-prime problem areas: use Zinsser Peel Stop on peeling edges and Zinsser Cover Stain for stubborn marks and stains. Make sure you stage tools in one place to keep the job efficient.
- Test for lead; wear PPE.
- Remove loose coatings and stabilise cracks.
- Sand, clean, mask, then spot-prime problem areas.
| Task | Recommended Product | Why it matters | Quick tip |
|---|---|---|---|
| Lead testing | At-home kit | Safety and legal compliance | Test multiple spots |
| Peeling paint | Scraper / chemical stripper | Creates a sound surface for the finish | Work outdoors if using strong stripper |
| Cracks & holes | Mesh tape + compound | Prevents telegraphing through topcoats | Feather edges with fine sandpaper |
| Stains / chalky edges | Zinsser Cover Stain / Peel Stop | Blocks marks and seals weak areas | Spot-prime before main coats |
For a step-by-step prep checklist and more surface advice, see how to prep interior walls.
Priming Plaster Properly: Seal, Block Stains, and Set the Stage
A good primer changes how the surface accepts paint, making coverage faster and more uniform.
Why use an oil-based primer? Oil-based primers fill porous plaster, slow down rapid absorption, and give better adhesion for subsequent coats. They also excel at blocking marks so finish layers stay clean.
Oil-based primer advantages
These primers seal the substrate and reduce the number of top coats you need. They are especially effective on smoke or water marks that might otherwise bleed through later paints.
Tinted primers and stain control
Tint primer toward a strong final colour to speed coverage on vivid hues like reds and yellows. For stubborn discolouration reach for proven products such as Kilz, Sherwin-Williams, or Zinsser Cover Stain.
- Spot-prime repairs first, then prime the whole wall for consistent absorption.
- Allow full drying before you apply coat paint to protect the finish.
- Priming reduces total material use and helps resist moisture on older walls.
- Use oil-based or stain-blocking primer where marks exist.
- Tint primer if you plan a strong colour.
- Prime entire surfaces, not just patches, for even application.
Choosing Paints and Finishes: Contract Emulsion, Ultra-Matt, Satin, and Eggshell
Choosing the right paint and sheen shapes how a room reads under natural light.
Use a contract emulsion as your first coat on new plaster. These breathable, high-opacity emulsions give an even base that helps topcoats sit correctly. Popular choices include Macpherson Eclipse and Leyland Super Leytex.
New ceilings and walls benefit from a mist coat before colour. A light, diluted coat helps the fresh surface accept later layers evenly and prevents patchy absorption.

Low-reflection emulsions for bright spaces
For long, light-heavy ceilings choose low light-reflecting emulsions such as Tikkurila Anti-Reflex 2, Johnstone’s Trade Perfect Matt, or Crown Trade Extra Matt. These reduce glare and hide minor surface irregularities.
Picking the right finish
Ultra-matt keeps reflections low so flaws are less visible. Satin or eggshell gives a soft sheen and better cleanability where walls face traffic. For deep colours, use a tinted undercoat to cut down on coats.
| Use | Recommended product | Benefit |
|---|---|---|
| New plaster base | Macpherson Eclipse / Leyland Super Leytex | Breathable, high-opacity base coat |
| Bright ceilings | Tikkurila Anti-Reflex 2 / Johnstone’s Perfect Matt | Low glare, hides imperfections |
| High-traffic walls | Satin / Eggshell | Durable, easier to clean |
- Keep white or off-white for resale-friendly rooms; choose sheen to influence perceived smoothness.
- Always trial colours and sheen on a test board to check light interaction before you commit to the whole room.
Tools and Application Techniques for Plaster: From Cutting In to Clean Coats
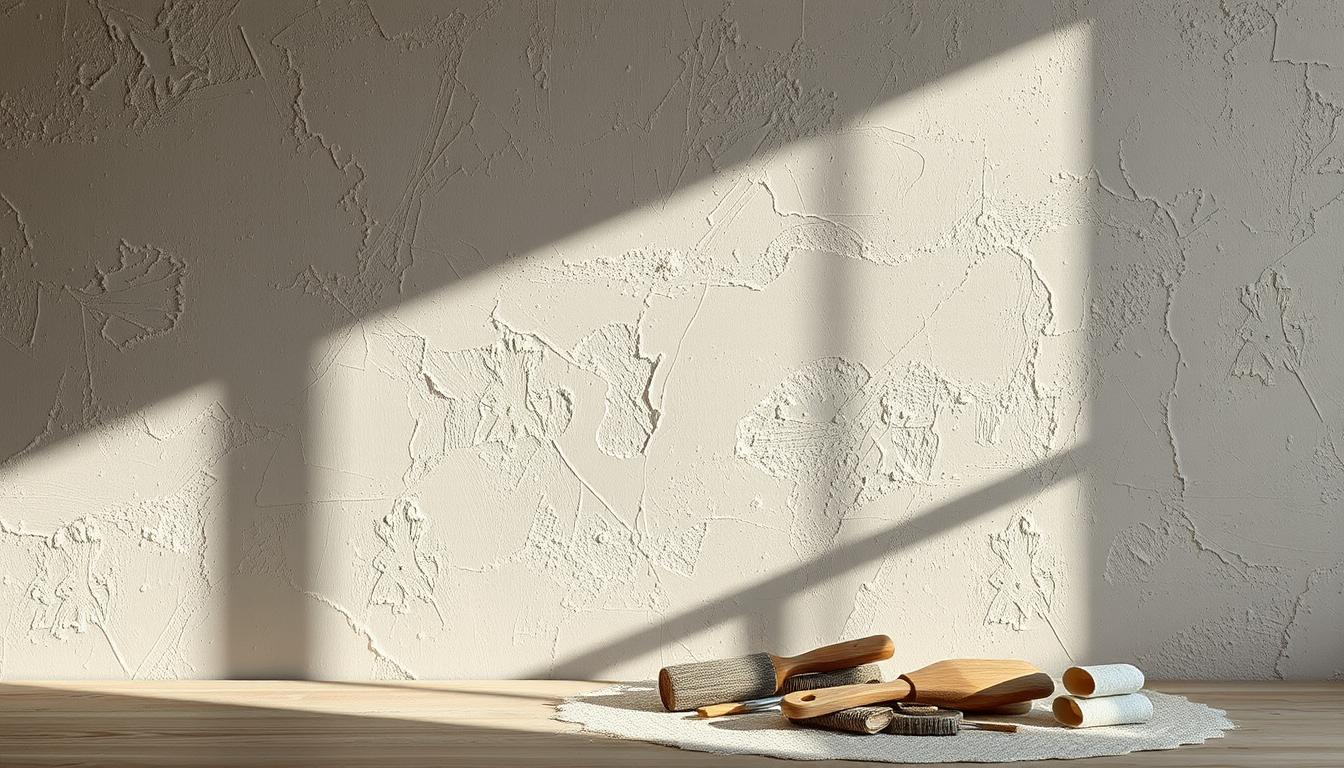
Control starts with the kit: a reliable sleeve, a stiff extension pole, and a sharp cutting brush set you up for neat, efficient work.
Rollers and reach: Use quality sleeves such as Axus Silk Touch (9" or 12") on a ProDec Super Lock pole to reduce spatter and keep strokes even. Match nap to the surface—10–12mm for smooth ceilings; longer naps for textured areas.
Cutting in and edges: A precise brush like ProDec Premier Cutting In gives crisp joins. Apply painter’s tape where needed for perfect borders, but rely on a steady hand for best results.
Work method and wet edge
Section the wall and work in manageable lanes. Maintain a wet edge by overlapping slightly and feathering the last pass. Roll one direction on coat one, then perpendicular on the second to even out texture.
Thin coats and site setup
Don’t overload the roller—multiple thin coats beat one heavy one. Use a scuttle to keep refills low and the rhythm steady.
- Keep ventilation high and set strong, raking light so flaws show early.
- Plan your time so you can keep moving and avoid lap marks.
- Pro tip: step back periodically under the light to check the look from different angles.
Creating Depth and Texture on Plaster: Subtle Effects to Elevate Your Space
A touch of soft texture can turn repaired walls into a quiet focal point that feels intentional.
Sponging and antiqued finishes for character on repaired walls
Sponging works well on patched surfaces. Use soft, layered passes with a translucent glaze to add gentle movement. Keep the colour close to your base so the result reads as depth rather than pattern.
Antiqued looks create age without feeling overdone. Apply thin washes and remove excess with a damp cloth until the effect sits subtly in corners and creases.
Layering neutrals and sheen contrast for dimensional results
Build texture with multiple thin layers rather than one heavy coat. Pair ultra-matt walls with a slightly higher-sheen trim to highlight features without shouting.
- Place darker or lighter passes where natural light will enhance the effect.
- Test small sections first to balance colour and sheen under real light.
- Keep the palette restrained so the technique serves the room.
| Effect | Method | Care |
|---|---|---|
| Soft sponge texture | Translucent glaze, dab with sea sponge | Gentle dusting, spot-clean with mild soap |
| Antiqued finish | Thin washes, wipe back to reveal base | Touch up with diluted glaze |
| Sheen contrast | Ultra-matt walls + eggshell trim | Wipe trim; avoid abrasive cleaners on textured areas |
Pro tip: For ideas on applied paint textures and inspiration, see a guide to paint textures.
Working with Neutrals and Natural Light: Color Choices That Adapt to UK Rooms
How daylight hits a room often decides whether a neutral feels warm, cool, or perfectly balanced.
North-facing spaces receive cooler, bluer natural light. Choose warmer neutrals to add glow and avoid a flat, lifeless look. A soft beige with a faint yellow or warm grey undertone lifts corners without appearing orange in artificial light.
South-facing rooms enjoy stronger, warmer light. Cooler neutrals keep the space calm and airy through the day. Pale greys with blue or green hints feel fresh in bright hours and remain subtle at night.
Finish choices to suit use
Ultra-matt finishes such as Tikkurila Anti-Reflex 2, Johnstone’s Perfect Matt, and Crown Extra Matt tame glare in very bright rooms. Use satin where wipeability matters — kitchens, bathrooms, and busy family rooms benefit from a more durable finish.
Proportion and drama: ceilings and colour drenching
Colour drenching (walls and ceilings in one shade) makes small spaces feel cohesive. A darker ceiling can visually lower very tall rooms, while a lighter ceiling opens up compact rooms.
- Keep undertones consistent across walls, trim, and ceilings to avoid clashes as light changes.
- Test swatches on multiple walls at different times of day to see how natural light shifts colour.
- For period properties, pair gentle neutrals with matte ceilings to showcase mouldings without glare.
Ceilings on Plaster: Special Prep and Painting Tactics for a Seamless Look
Ceilings demand a slightly different workflow than walls to deliver a seamless finish.
Start with careful prep: clear the room, cover furniture, and protect floors with polythene or self-adhesive carpet protector. Rake out cracks and fill them with a flexible or fine-surface filler, then feather edges smooth with sanding pads so repairs disappear under finish coats.
Spot-prime peeling edges with Zinsser Peel Stop and block water or smoke stains using Zinsser Cover Stain. On fresh plaster apply a light mist coat of thinned emulsion to even absorption before full coats.

Choose the right roller nap for the surface: 10–12mm for smooth ceilings, longer naps for textured areas. Roll the first coat in one direction and the second coat perpendicular to it to reduce tracking and create a uniform look.
- Maintain even pressure and a wet edge to avoid lap marks.
- Use painter’s tape to protect edges and remove it carefully after the final coat.
- Work in manageable areas with an extension pole to reduce overhead fatigue.
- Keep strong, raking light so you spot misses and correct them while wet.
- Finish with a close inspection pass and touch up any subtle inconsistencies before the paint fully cures.
Conclusion
Small, steady steps — not rushes — make the difference between an OK finish and a professional one.
Wrap up: safe prep, the right primer, and disciplined application deliver a repeatable, high-quality job. Use contract emulsion on fresh surfaces, pick ultra-matt where glare is an issue, and choose satin or eggshell for durability in high-use rooms.
Use quality tools to keep work neat. Apply thin, even coats with a maintained wet edge; these beat heavy passes every time. Do a final light check from several angles before you clean up.
For colour guidance and ideas on choosing tones for your walls, see this note on the best colour for plaster walls.
Plan time between coats and record what worked — your next job will go faster and look better.
Enhance Your Space with Unique Modern Masterpieces by Chiara Rossetti

Are you inspired by the innovative mediums and conceptual depth highlighted in our exploration of contemporary art? You’re not alone! Today’s art enthusiasts are seeking cultural relevance and emotional connections in their artwork. However, finding pieces that resonate with modern themes and fit your unique style can be a challenge. That’s where we come in!

At Rossetti Art, we specialize in canvas prints, original paintings, and modern sculptures that celebrate the spirit of now. Each piece created by Chiara Rossetti brings a personal touch that connects deeply with current social narratives—just like the modern masterpieces discussed in the article. Don’t miss out on the chance to elevate your home decor with breathtaking artwork that speaks to your values and aesthetic. Explore our collection today and find your perfect piece! Act now, and transform your space into a gallery of inspiration!
FAQ
How do I tell if I should use a mist coat or a contractor emulsion on fresh plaster?
If the surface is newly skimmed and dry, start with a mist coat — a thin mix of water and matt emulsion — to help adhesion. For areas with heavy staining or very porous sections, choose a contractor emulsion or oil-based primer first to seal and block stains before topcoats.
What’s the easiest way to repair small cracks and holes before painting?
Rake out loose material, fill with a ready-mixed filler or setting compound, compact it into the gap, let it dry, then sand smooth. Feather the edges so the patch blends with the surrounding surface. Wipe away dust before priming.
When should I use an oil-based primer on plaster?
Use oil-based primers when you need strong stain blocking, or when old water or smoke stains threaten to bleed through. They also help adhesion on difficult surfaces, but ensure adequate drying and ventilation.
How many coats of emulsion do plaster walls usually need?
Most walls need two full topcoats after the mist coat or primer. Strong or deep colors may require a third coat or a tinted primer to achieve uniform coverage.
What roller nap should I pick for a smooth plaster finish?
For smooth plaster, choose a short nap roller (around 3/16" to 3/8") to reduce texture and orange peel. Use a slightly thicker nap for subtly textured walls to aid holdout and even coverage.
How can I avoid visible seams and roller marks?
Maintain a wet edge by working in manageable sections, feathering overlaps, and using consistent pressure. Thin, even coats and the right roller for the surface also prevent marks and runs.
Are matte finishes better at hiding imperfections than satin or eggshell?
Yes — ultra-matt and flat finishes scatter light and mask small flaws. Use satin or eggshell in high-traffic areas where wipeability and durability are priorities.
What’s the best way to paint ceilings to avoid drips and fatigue?
Use an extension pole with a lightweight roller, work across the room in bands, and roll perpendicular between coats. Keep sections short and take breaks to maintain steady strokes and avoid drips.
How should I prepare an old room that might contain lead paint?
Test suspect coatings with a recognized test kit or hire a certified contractor. If lead is present, follow lead-safe practices: use containment, HEPA vacuums, wet sanding, and personal protective equipment, or hire specialists for removal.
Can I use tinted primers to make bold colors easier to apply?
Absolutely. Tinting the primer toward your final color reduces the number of topcoats needed and improves coverage for strong or saturated hues.
How do natural light and room orientation affect color choice?
North-facing rooms get cooler, bluer light; select warmer neutrals to balance this. South-facing rooms receive warmer light, so cooler neutrals can help temper warmth. Test samples at different times of day.
What steps reduce sanding dust and speed cleanup?
Use wet-sanding where possible, seal off the room with masking and dust sheets, run a shop vacuum with a HEPA filter during sanding, and finish with a damp cloth to remove residual dust before painting.
How do I handle stains from water or smoke on plaster?
Address the source first. Once dry, clean the area, apply a stain-blocking primer (often oil-based or specialist waterborne blocker), then proceed with mist coats and topcoats.
When is it worth hiring a pro rather than DIY?
Hire professionals for extensive repairs, lead or asbestos concerns, high ceilings or tricky access, or when you want a guaranteed, flawless finish that saves time and rework.
What paint sheen balances glare control with cleanability?
Ultra-matt or flat finishes control glare and hide flaws; choose eggshell or satin where wipeability matters, such as kitchens and hallways. Match sheen to room use and lighting conditions.


Leave a comment
This site is protected by hCaptcha and the hCaptcha Privacy Policy and Terms of Service apply.