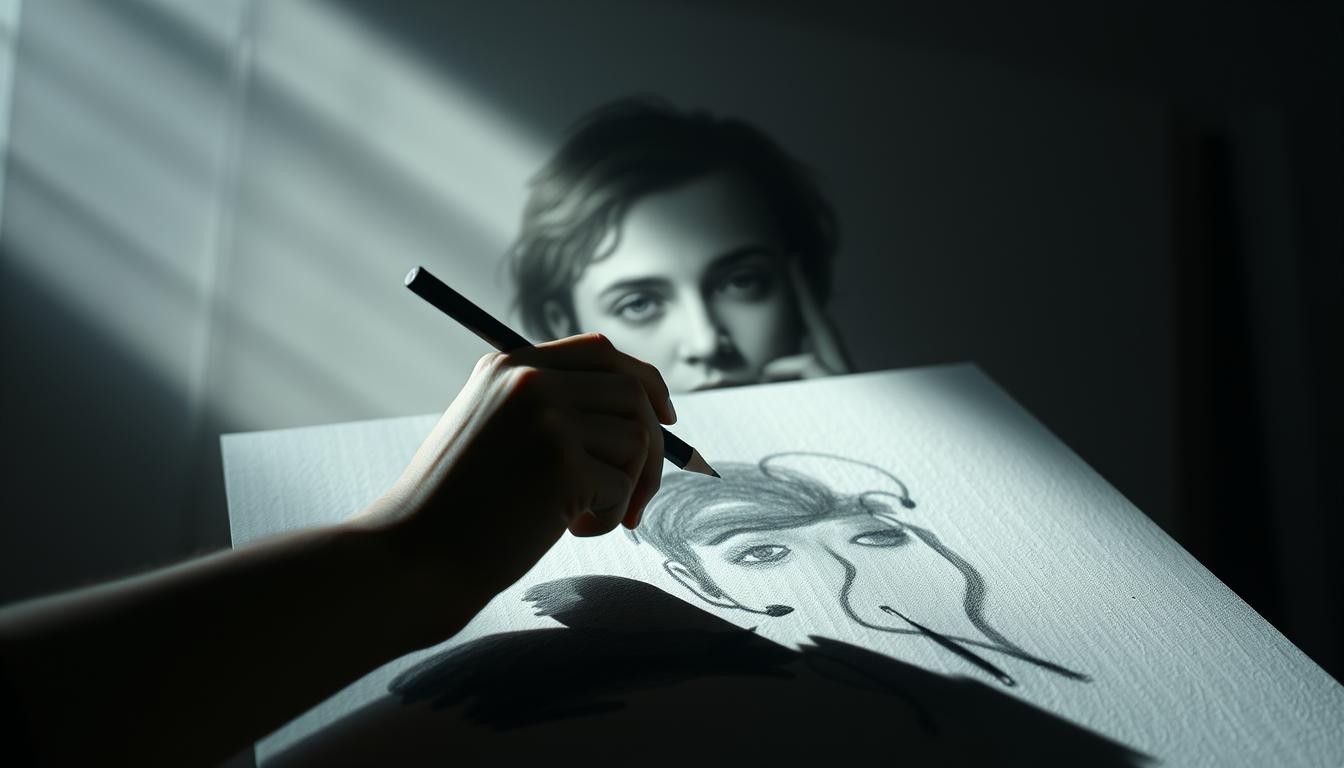
Can a single confident stroke beat hours of erasing and hesitation?
This simple method teaches you to rehearse a line a few millimetres above paper, then commit one smooth mark. It breaks mark-making into three clear steps: plan your endpoints, prepare with a ghosting motion and good posture, then execute with a decisive stroke.

Rotate your page to a comfortable angle and use shoulder and arm movement for longer lines. Focus on smoothness first; endpoint precision improves with steady practice. If you tend to overshoot, touch down confidently and lift the pen exactly at the finish to avoid wobble.
Who benefits? Designers, hobbyists, and people returning to art find cleaner, faster results without constant redrawing. A few minutes a day builds short-term muscle memory and a useful “memory of forms.”
Ready to try a rehearsal above the surface before you put ink on paper? Learn a practical drill and step-by-step tips in this guide, including a helpful lesson at Drawabox: ghosted lines.
Key Takeaways
- Rehearse the stroke a few millimetres above paper, then lay down one confident line.
- Three phases: plan endpoints, prepare with ghosting and posture, execute smoothly.
- Rotate the page and use arm motion to reduce wrist wobble.
- Prioritise smoothness; endpoint accuracy grows with regular practice.
- Lift the pen at the endpoint to avoid overshoot and shaky finishes.
- Short daily practice builds reliable muscle memory and steadier forms.
What is the ghost drawing technique? Definition, benefits, and when to use it
A short, invisible rehearsal above the sheet lets you place a deliberate, steady line in one go.
Definition in one sentence: It’s the invisible rehearsal of your stroke above paper, followed by one clear, committed mark with a pen.
Use this method when a line must carry structure, pace, or clarity. Plan start and end points, rotate paper to suit your arm and shoulder, then rehearse the motion a few times without touching paper.
- Cleaner lines and fewer corrections.
- Steadier hand control and gradual accuracy gains over time.
- Less hesitation, so sketches read faster and work moves on.
Physical setup: Keep neutral posture, lead with the arm and shoulder, and stay relaxed. Short, frequent practice builds muscle memory and cuts the fear pause before committing a stroke.
Quick test: If lines feel smoother and endpoints improve week to week, you are making real progress.
How to ghost your lines step by step for confident, accurate drawing
Start by picturing your path and rehearsing that motion above the sheet until it feels natural.
Planning the stroke
Decide intent. Note what this mark will add and mark tiny start and end dots if helpful.
Rotate the page so the path follows your most natural arm motion. This keeps the shoulder and arm relaxed.

Preparation and ghosting
Check posture: neutral shoulders, relaxed grip, stable elbow. Hover the pen and ghost the path 3–10 times as a short series.
Let your eyes track the route and let your body learn the motion. Pace your rehearsals so execution feels familiar, not rushed.
Execution and endpoint control
Touch down and pull one smooth stroke. Avoid micro-corrections mid-line; commit and let the motion carry.
Pro tip: Lift the pen at the exact endpoint to prevent overshoot and preserve steady finishes.
Accuracy versus confidence
Prioritise a readable, smooth line over tiny endpoint errors. If precision is needed, add more ghost passes then execute as a single unified mark.
| Phase | Action | Quick cue |
|---|---|---|
| Plan | Set intent, mark points, rotate paper | “Why this line?” |
| Prepare | Posture check, shoulder-led ghosting | “3–10 rehearsals” |
| Execute | One confident pen stroke, lift at end | “Commit, don’t correct” |
Practice drills, posture, and troubleshooting to build skill over time
Begin each session with short, focused warm-ups that prime arm motion and calm the hand.
Warm-ups and exercises: Fill a page with dots and connect them point-to-point using a quick hover and one commit. Add straight lines, ellipses, C-curves, and circles to wake different muscles.
Keep drills brief and regular. A few minutes each day beats long, tiring sessions and saves time while improving skills.

Body mechanics
Whether sitting or standing, maintain neutral posture. Relax shoulders and lead the motion from the shoulder with the arm following through.
Common mistakes and fixes
- Wobbly lines: usually hesitation or wrist-drawing — reset and ghost the motion once or twice, then commit.
- Arcing strokes: counter-bias the stroke slightly opposite the arc to straighten over repeats.
- Grip and pen drag: use a light hold and smooth paper to avoid skips that ruin rhythm.
| Focus | Drill | Quick cue |
|---|---|---|
| Smoothness | Long straight lines, 2–3 passes | “Flow, don’t correct” |
| Trajectory | Point-to-point and C-curves | “Aim the middle” |
| Endpoints | Short strokes with exact lift | “Commit the stop” |
Levels of success: Start with smooth motion, then refine trajectory, and finally perfect endpoints. Track daily progress so people can see steady gains and stay motivated.
Tools, tips, and time-saving habits for everyday sketching
Choose gear and small routines that let you focus on motion, not correction.
Choosing pen and paper, training your eyes, and building “memory of forms”
Dependable materials matter. A smooth paper and a steady-flow pen reduce skips and let your hand keep moving. That keeps each line readable and fast.
Make a quick pre-stroke habit: hover and preview almost every important mark. Let your eyes follow the path during rehearsals so hand and sight move together.
Revisit circles and ellipses as a short daily exercise. Repetition builds a useful memory of forms so complex shapes start to arrive without overthinking.
Design sketching use cases: cleaner lines, better expression, and faster iteration
In product and UI work, cleaner first-pass marks speed iteration. Fewer corrections mean quicker concept rounds and clearer silhouettes.
- Keep posture and body aligned during longer sessions to protect consistency.
- Limit ghost passes to a set count to save time and keep momentum.
- Mix short drills with live concept work so skills transfer directly into projects.
For a quick daily boost, try the product design sketching tip routine to fold this way of working into your schedule.
Conclusion
A quick, silent rehearsal before contact helps you lay down clearer, calmer lines.
In short: this technique is a three-step series—plan, prepare, execute—that turns hesitation into a single, confident stroke. Prioritise smoothness first; accuracy will follow as your body learns the motion.
Keep posture relaxed and lead with the shoulder so each line stays steady. Lift the pen at the endpoint to stop overshoot and keep finishes crisp.
Embed a short warm-up into your routine: a few lines, ellipses and C-curves prime your hand and save time during focused work. Use this guide on your next page and notice how small changes improve clarity and flow in your art.
FAQ
What does the ghost drawing method teach?
This method trains a confident, single-stroke approach by rehearsing an invisible motion just above the paper before committing. It helps reduce shaky marks and builds steadier, cleaner lines so artists can capture form faster and with more control.
When should I use the ghosting approach in my sketching?
Use it for long strokes, contours, ellipses, and gesture lines when you want fluid, expressive results. It works well during quick studies, figure practice, and design ideation when speed and legibility matter.
How do I plan a stroke before placing the pen down?
Visualize start and end points, set the direction in your mind, and rotate the paper so the motion follows your shoulder. Trace the motion above the page a few times until it feels natural, then place the tip and draw decisively.
What posture and arm technique improve results?
Sit or stand with a relaxed spine and free shoulder. Lead lines with the shoulder and upper arm, not the wrist. Keep the elbow slightly away from the torso and let the forearm glide over the surface for longer, smoother strokes.
How should I execute the actual stroke?
Commit to a single, continuous motion at a steady pace. Aim for smoothness rather than correcting mid-stroke. Finish by lifting the pen cleanly at the end point to avoid overshooting.
How does accuracy compare to confidence in this practice?
Confidence yields smoother marks that read as accurate even if endpoints need refinement. Prioritize a steady motion first, then refine placement and endpoint precision with targeted drills.
What warm-up exercises build ghosting skill?
Practice point-to-point lines, long arcs, ellipses, C-curves, and continuous circles. Start large, then scale down. Repeat each motion without drawing until it feels memorized, then transfer it to the paper.
How can I fix wobbly or arcing lines?
Increase shoulder involvement, slow the motion slightly, and rotate the paper to align the stroke with your natural range. Also practice larger versions of the same stroke to build muscle memory before shrinking it down.
How do I choose pen and paper for this method?
Pick a pen with consistent ink flow and a nib that glides—gel or fine-liner options work well. Use smooth, stable paper that won’t catch the tip. Experiment until the tool responds predictably to confident strokes.
What role do the eyes play in ghost practice?
Train your eyes to track the intended path and endpoints. Look ahead along the line, not at the moving tip. This visual guidance helps the arm follow the planned motion more accurately.
How often should I practice to see improvement?
Short, daily sessions beat occasional long ones. Ten to twenty minutes a day focused on targeted drills will build smoother strokes and better endpoint control within weeks.
Can this approach improve design sketching and expression?
Yes. Cleaner single strokes speed up iteration, enhance readability, and help convey gesture and form with more confidence—valuable for concept work, product sketching, and character studies.
What common mistakes should I avoid while training?
Don’t rely on the wrist, avoid tiny hesitant motions, and skip over-correcting mid-stroke. Also, don’t overuse erasing; instead, learn to rehearse the motion above the page until it feels reliable.
How do I progress from smoothness to precise endpoints?
After achieving consistent smooth strokes, introduce point-target drills: mark tiny start and end dots and practice landing precisely. Gradually reduce target size as control improves.


Leave a comment
This site is protected by hCaptcha and the hCaptcha Privacy Policy and Terms of Service apply.