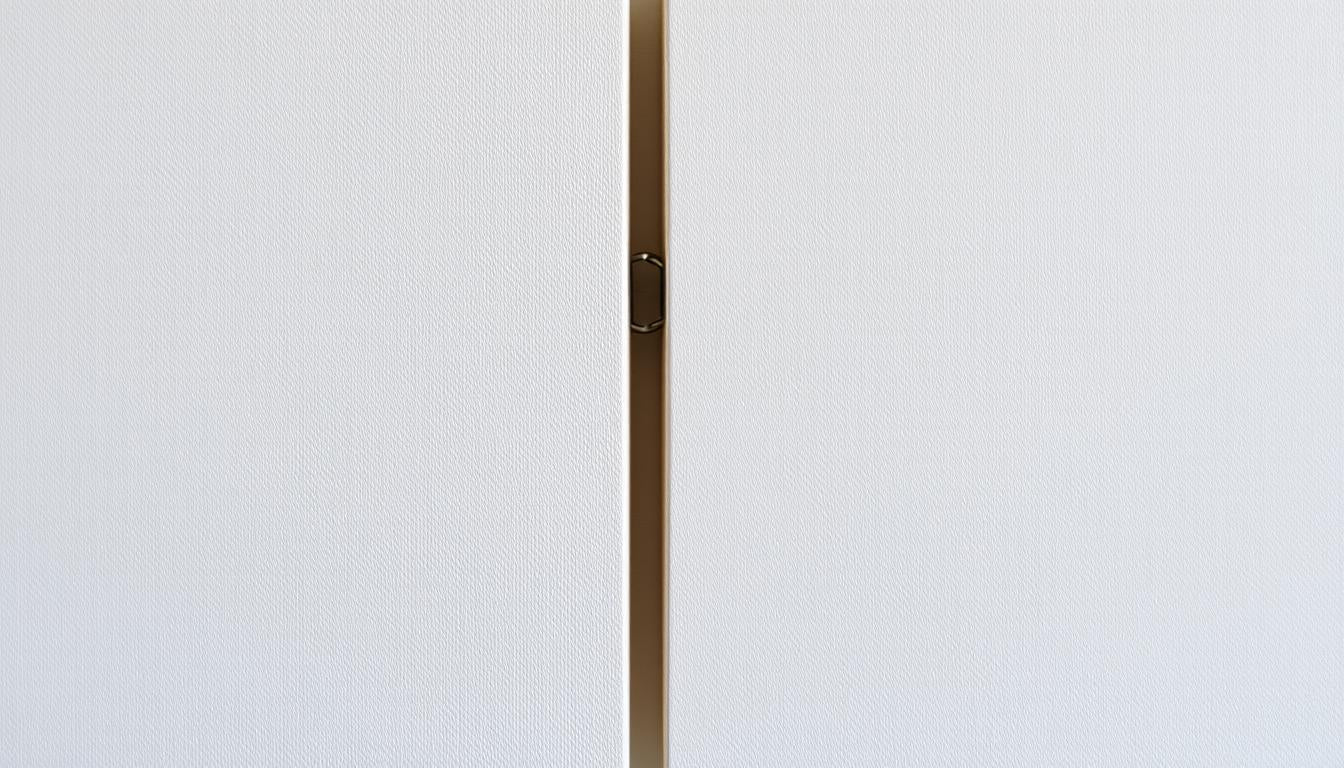
How to secure two canvases together? Have you ever wondered if joining panels will harm the sides of a gallery-wrapped work or ruin a textile piece?

Gallery-wrapped large piece owners face a real problem when they drill through stretcher bars — visible holes and a permanent change. A safer route uses reversible, back-mounted hardware that keeps panels aligned without piercing the sides.
For stitched art, align warp and weft, leave about half an inch of bare canvas at the seam, and use strong thread with cross-hatch or back stitches. Latch hook panels work well when overlapped by three rows and knotted row by row.
Ready for a reliable method that fits your project size and display needs? This guide shows simple alignment checks, when to pick temporary joins, and a gentle testing step. For detailed needlepoint steps, see this helpful guide on piecing two canvases.
Key Takeaways
- Avoid drilling gallery wraps; use back-mounted hardware for reversibility.
- Line up panels on a flat surface before attaching anything.
- Needlepoint: leave a half-inch seam and use strong thread with cross stitches.
- Latch hook: overlap three rows and knot through both layers as you go.
- Test joins in a low-risk area and choose temporary joins when future separation matters.
Understanding canvas types and project goals before you begin
Start by spotting the right material and aim for preservation. Identify whether your piece is a stretched canvas on a stretcher, a needlepoint square, or a latch hook panel. This choice guides the safest way to join pieces and protects visible sides and edges.
Identify your canvas:
- Stretched paintings on stretcher bars need a reversible back fix that avoids drilling through the sides.
- Needlepoint squares (Penelope, interlock, mono) have distinct warp and weft; mark an up-arrow and mount arrows up for consistent alignment.
- Latch hook panels work best with an overlap join that becomes part of the front surface.
Tools and small checklist: stretcher or frame, soft straps, adjustable cleats or shared rail, non-marring clamps, and strong threads like linen or dental floss for fine canvas. Leave about 1/2 inch of bare canvas at seams and avoid stitching a straight line right at the edge.
How to secure two canvases together? Practical, non-destructive methods
Start with careful alignment before any hardware touches the frames. Set the panels flat, square their fronts carefully, then mark small alignment ticks on the bar backs. These marks make it easy to repeat the exact placement during mounting.

Butting and back fixes: Butt the faces so the painted planes meet without gap. Use low-profile, back-mounted straps or plates that fasten into the rear of the stretcher bars only. This avoids visible holes on the sides and keeps the front intact.
- For heavier work, fit a continuous French cleat or shared hanging rail along the back to lock both pieces in plane.
- Space straps or rail anchors at roughly one-third points to reduce racking and distribute load.
- On deep wraps, add small cushioned shims or edge ties behind the corner area so the front does not separate.
Avoid drilling through bars: Piercing the stretcher bars or sides leaves permanent holes and weakens corners. If removable display is needed, choose microstraps or adjustable cleats that unscrew cleanly from the back.
Test-hang the assembly and press along the seam. Adjust the back attachments until the faces sit co-planar and gap-free before final mounting.
Stitch-based joins for needlepoint and latch hook projects
Start with matching the warp direction and grid spacing before any stitching.
Needlepoint piecing (mono/interlock)
Mount each square with the up-arrow pointing the same way. Bring the two pieces edge to edge and align the grid holes so motifs continue across the seam.
Leave about 1/2 inch of bare canvas at the join. This clear area prevents a hard ridge and keeps the front smooth.
Needlepoint piecing on mono/interlock canvas: align warp/weft and stitch the seam
Use small cross-hatch stitches through matching holes along both edges. Then travel back across the seam to finish full cross stitches for an even, stable join.
On Penelope canvas, work back stitches between threads instead of through holes for an invisible seam that keeps the weave true.

Leaving bare canvas at the seam and using cross/back stitches to join
Choose strong thread: white cotton, dental floss, or linen for fine counts. Wax lightly if abrasion is a concern.
After stitching, steam press the join from the back with a pressing cloth. Use minimal moisture and avoid flattening decorative stitches near the corner or edges.
Latch hook overlap method: three-row overlap and knotting fringes through both canvases
Overlap the panels by three rows and knot fringes through both layers with your latch hook tool. Work in sets of three rows and check pattern alignment often.
Remove any masking tape after the join and finish covered rows so the bridge becomes part of the front surface.
| Project | Seam prep | Recommended thread |
|---|---|---|
| Mono / Interlock needlepoint | Align arrows; 1/2" bare edge | White cotton, linen |
| Penelope canvas | Back stitch between threads | Fine linen thread |
| Latch hook panels | 3-row overlap; knot fringes | Original yarn; secure knots |
Quick tip: If holes or weave vary slightly, skip a hole sometimes on the denser side so motifs match without puckering. For extra guidance on grid stitching techniques, see a clear guide on stitch plastic canvas.
Conclusion
Plan, test, and match the method to the material. Pick reversible back hardware for stretched paintings or stitch joins for needlework. Dry-fit the arrangement on a table and make small trial attachments before final mounting.
The safest way to hold two pieces as one is to match the technique to your medium. For a stretcher-mounted work, use a shared rail or cleats across the frame backs instead of piercing the sides. Add subtle back supports for deep wraps so faces stay flush over time.
For needlepoint and latch hook, align warp and weft, use cross or back stitches, or overlap three rows so the join reads as a single surface. Decide how long the project must last, then choose fasteners or stitches that suit that time frame and preservation goals.
FAQ
What’s the safest way to join two stretched painting pieces without harming the artwork?
Lay both frames flat and align edges precisely. Use a back-mounted wooden strapping or a French cleat system attached to the stretcher bars; this supports both canvases without drilling through fabric or painted surfaces. Add archival double-sided tape or acid-free mounting strips at the rear for extra hold while keeping the front untouched.
Which materials work best when linking needlepoint or latch hook canvas squares?
For needlepoint, use strong embroidery thread or yarn and a blunt tapestry needle. Match thread weight to canvas mesh and stitch along the warp and weft for even tension. Latch hook pieces benefit from a three-row overlap and secure knotting with a heavy yarn that won’t slip; avoid thin thread that can cut or distort the mesh.
Can I drill holes through stretcher bars or canvas sides to join pieces?
Drilling through stretcher bars risks splitting wood and putting stress on the canvas edges. It’s better to fasten to the face or back of the bars using clamps, cleats, or adhesive mounting plates designed for picture framing. If you must drill, predrill pilot holes in the bars only and keep hardware away from the fabric.
How do I align two deep-wrap canvases so their fronts stay flush?
Place both canvases on a level surface and use spacer blocks beneath the stretcher edges to keep depth consistent. Clamp or weight the edges lightly while you attach a shared hanging rail or cross-brace at the backs. This prevents sagging and keeps the front planes aligned for a seamless look.
What’s a good temporary joining method for display or transport?
Use removable hook-and-loop straps, archival painter’s tape at the back, or temporary corner brackets. These options hold canvases firmly during transport and can be removed without residue or damage, allowing easy separation later for storage or restoration.
How should I prepare canvas edges before stitching seams on mono or interlock canvases?
Trim frayed threads and straighten the mesh edges. Leave a small unstitched margin, then secure that margin with a reinforcing whipstitch or overcast before doing the main seam. That reinforcement reduces stress on the joined area and minimizes distortion across the piece.
Are adhesives ever recommended for joining two painted canvases?
Use adhesives sparingly and choose archival, pH-neutral options meant for conservation if you must. Apply adhesive only to the stretcher wood or backing strips, not the painted surface. Avoid contact with the canvas face to prevent staining, embrittlement, or long-term damage.
What hanging hardware works well when mounting two canvases as one large piece?
A continuous French cleat, heavy-duty wire attached to reinforced D-rings, or an aluminum stretcher rail can distribute weight evenly. Position hardware so the load rests on the wooden stretcher bars rather than the canvas fabric, and use two points of support for wider combined works.
How do I prevent front separation at the corners on gallery-wrapped canvases?
Add corner braces or L-shaped brackets at the back where the stretcher frames meet. Reinforce with archival tape on the inside face of the stretcher bars, and ensure the fabric is taut before attaching supports. Properly sized braces stop the sides from pulling apart under tension.
What should I consider when planning a permanent join versus a reversible one?
For permanent joins, use well-supported joinery such as glued-and-clamped backing boards or professionally installed cleats. For reversible joins, opt for straps, removable screws in wooden braces, or archival tapes that peel cleanly. Think about future conservation needs and choose methods that respect long-term care.

Leave a comment
This site is protected by hCaptcha and the hCaptcha Privacy Policy and Terms of Service apply.